Introduction
Tired of relying on external platforms for your code version control? Welcome to the world of self-hosting! This guide will show you how to install and configure Gitea, a powerful self-hosted Git server, and migrate your existing repositories from AWS CodeCommit. Get ready to take full control of your code and streamline your development workflow.
Installing and Configuring Gitea
Step 1: Instance Setup
First, we’ll create a test instance on a cloud provider like AWS. Here we have created Ubuntu t2.micro instance in AWS. Make sure to allow port 3000 inbound from security group.
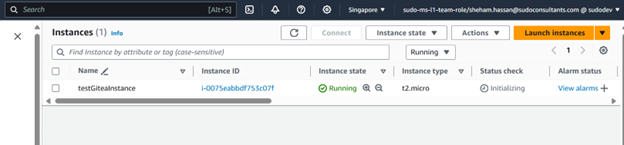
Connect to the instance locally using ssh or any other available options
Step 2: Installing Dependencies
Once connected, update the system packages using the following commands:
sudo apt-get update
sudo apt-get upgrade
Install wget and git using the following command:
sudo apt install mysql-server –y
sudo systemctl start mysql
sudo mysql_secure_installation
We’ll create a dedicated database and user for security purposes.
sudo mysql -u root -p
CREATE DATABASE <dbname> CHARACTER SET 'utf8mb4' COLLATE 'utf8mb4_unicode_ci';
CREATE USER '<username>'@'localhost' IDENTIFIED BY '<password>';
GRANT ALL PRIVILEGES ON <dbname>.* TO ' <username> '@'localhost';
FLUSH PRIVILEGES;
EXIT;
Gitea Installation and Configuration
Now, let’s create dedicated system user for Gitea:
sudo adduser --system --shell /bin/bash --gecos 'Git Version Control' --group --disabled-password --home /home/git gitFinally, we will install Gitea binary, and add relevant permissions to the directory:
wget -O gitea https://dl.gitea.io/gitea/1.17.3/gitea-1.17.3-linux-amd64
sudo chmod +x gitea
sudo mv gitea /usr/local/bin/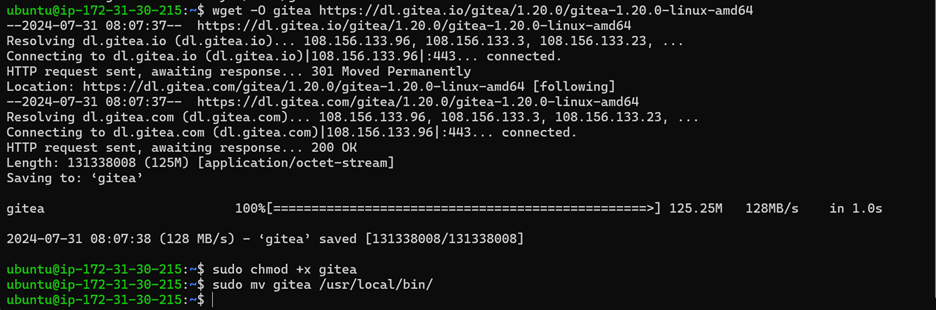
Create essential directories in /var/lib and in /etc/ folders for Gitea’s data, logs, and configuration files.
sudo mkdir -p /var/lib/gitea/{custom,data,log}
sudo chown -R git:git /var/lib/gitea/
sudo chmod -R 750 /var/lib/gitea/
sudo mkdir /etc/gitea
sudo chown root:git /etc/gitea
sudo chmod 770 /etc/gitea
To ensure Gitea runs smoothly as a service, we’ll create a Systemd service file defining how the system manages Gitea. This service file specifies the user, group, working directory, and startup command for Gitea.
sudo tee /etc/systemd/system/gitea.service > /dev/null <<EOL
[Unit]
Description=Gitea
After=syslog.target
After=network.target
#Requires=mariadb.service
#Requires=mysql.service
#Requires=postgresql.service
#Requires=memcached.service
#Requires=redis.service
[Service]
LimitMEMLOCK=infinity
LimitNOFILE=262144
Type=simple
User=git
Group=git
WorkingDirectory=/var/lib/gitea/
ExecStart=/usr/local/bin/gitea web --config /etc/gitea/app.ini
Restart=always
Environment=USER=git HOME=/home/git GITEA_WORK_DIR=/var/lib/gitea
[Install]
WantedBy=multi-user.target
EOL
Finally, start and enable Gitea service for it to run continuously:
sudo systemctl daemon-reload
sudo systemctl enable gitea
sudo systemctl start gitea
Step 3: Configuring and Accessing Gitea
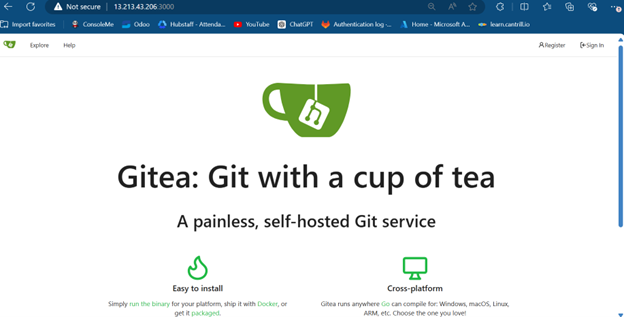
Now open a new tab in your favorite browser and search http://<public-ip>:3000 (replacing <public-ip>). This will take you to the Gitea installation wizard.
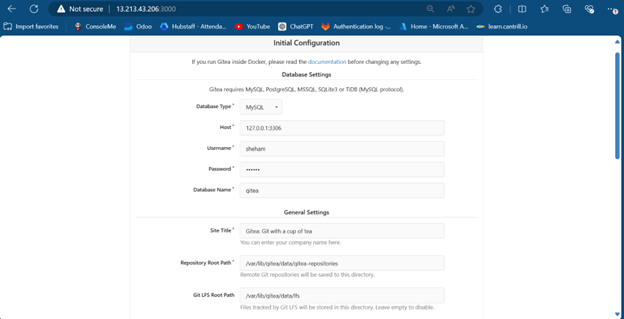
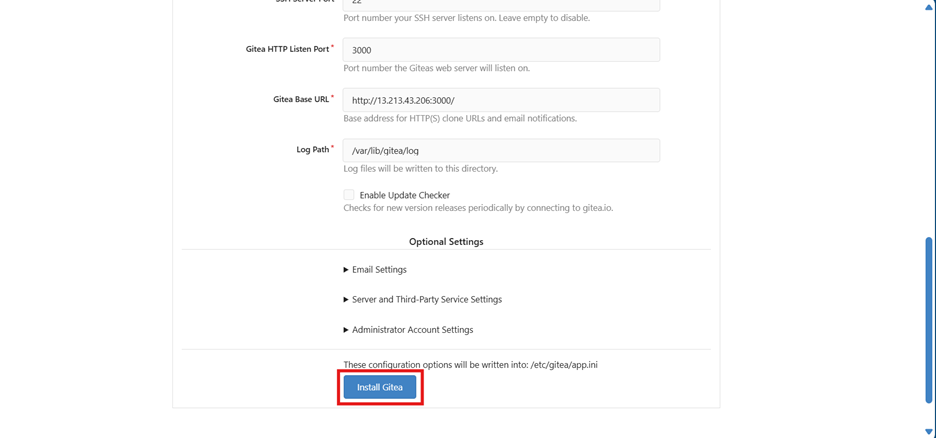
Enter the database user credentials and keep your general settings as default for now. Scroll down and click “install gitea” to complete the setup.
Once installed, it will redirect to the Gitea main page:
To register user in Gitea, navigate to the “Register” on the top right corner of page, then enter registration details:
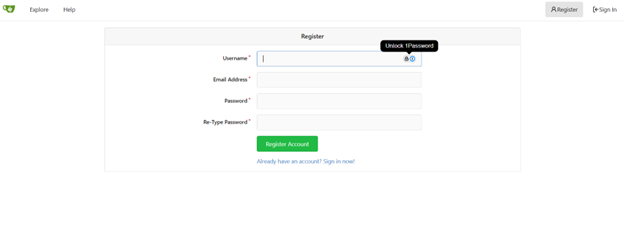
Once done, it will navigate to the main page of Gitea and we can access it seamlessly now.
Congratulations! You’ve successfully installed Gitea on your local EC2 instance and have full access to the Gitea Web Interface.
Migrating repository from AWS CodeCommit to Gitea;
Now comes the exciting part – migrating your existing repository from AWS CodeCommit to your self-hosted Gitea instance!
Initial Setup
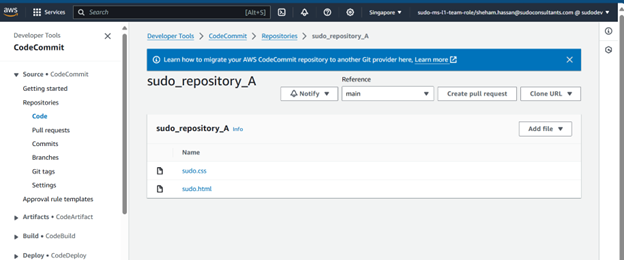
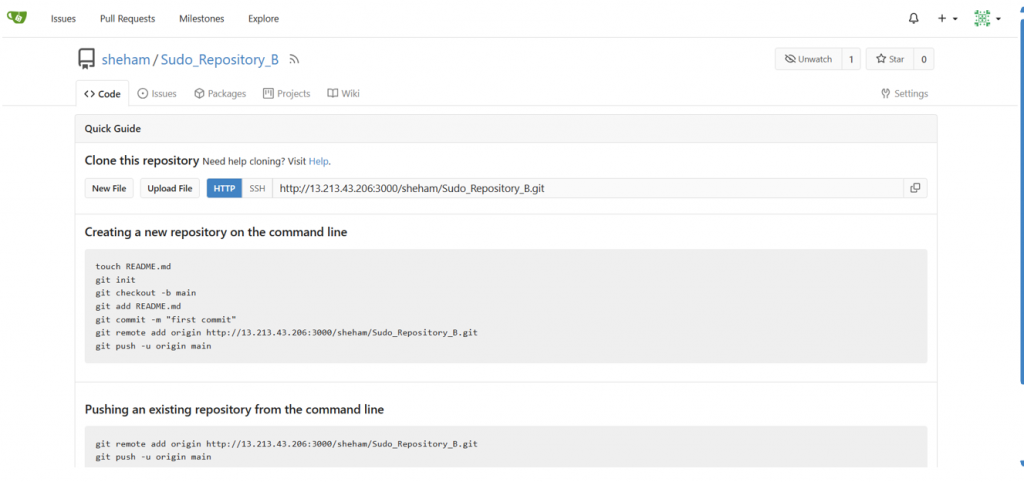
To migrate repository from AWS CodeCommit to Gitea, we have created “repository A” in AWS CodeCommit and an empty “repository B” in Gitea. Our goal is to migrate the contents repository A to repository B
AWS CodeCommit:
Gitea:
First, clone the CodeCommit repository to the local CLI.
Make sure to have AWS Cli configured and necessary Git credentials generated for CodeCommit access.
Repository Migration
Copy the https Clone url from CodeCommit repository and paste the following command in your terminal:
git clone <CodeCommit clone url>Enter AWS CodeCommit credentials we have generated earlier.
Navigate to the repository using cd command
Now navigate to the Gitea tab and copy the clone url
Next step is to add remote path to the Gitea repository in the terminal and push the code using the following commands:
git remote add gitea http://<your-ec2-public-ip>:3000/<username>/<repo-name>.git
git push -u gitea –all
git push -u gitea --tags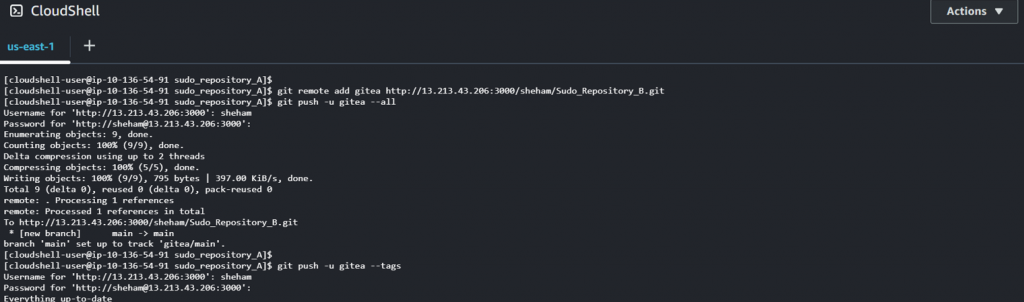
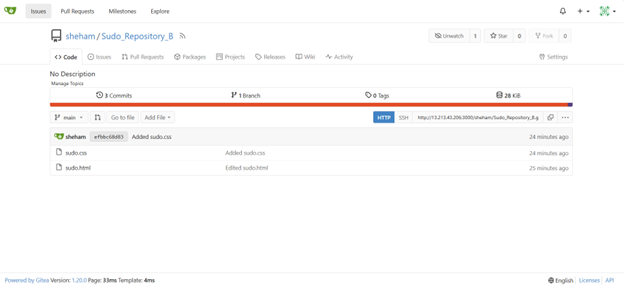
Finally, head back to repository B in the Gitea interface and refresh the page, we can see all the contents of repository A have been migrated with same commit messages in repository B.
Conclusion
Congratulations! You’ve successfully installed and configured Gitea, migrated your repository from AWS CodeCommit, and are now in full control of your code. With Gitea, you have a powerful and flexible self-hosted Git server that caters to your specific needs. Embrace the benefits of self-hosting and enjoy a streamlined development experience!