One of the most amazing features of AWS ALB is seemless authentication for selected paths using rules. This allows security teams to put granular control and implement multi factor authentication for certain paths. Not just one can enable authentication but different authentication mechanisms can be configured for different paths. And all of this is transparent for the application which takes away all the overhead of managing and supporting different authentication from developers.
In this blog post we will look into integrating AWS ALB with Cisco Duo for authentication and MFA. Cisco Duo is an enterprise MFA solution which will be integrated with an external Idp, I can be any Idp which supports SAML. Commonly used Idps in many organizations are Okta, Google Workspace and Azure AD. This solution does not care about which Idp is used with Cisco Duo as far as Cisco Duo can authenticate users the solution will work.
Pre-Requisites:
- Cisco Duo account.
- AWS account.
- Idp (e.g Google, Azure AD, Okta)
Cisco Duo Configuration
Lets first configure Cisco Duo to provide authentication and MFA for AWS our ALB.
Create a Generic SAML Application on Cisco Duo
- Login to your Cisco Duo Account.
- Navigate to Applications -> Protect an Application
- Search for Generic SAML Service Provider
- Click Configure

Configure the new application
On this page you can configure the application policies and other options. We will Download the certificate and meta data XML to use in Cognito integration.

AWS Cognito Configuration
In this section we will integrate AWS Cognito with Cisco Duo for Authentication as a SAML Idp provider.
Login to your AWS Console and follow the steps below.
- Goto the AWS Cognito, make sure you are in correct AWS Region.
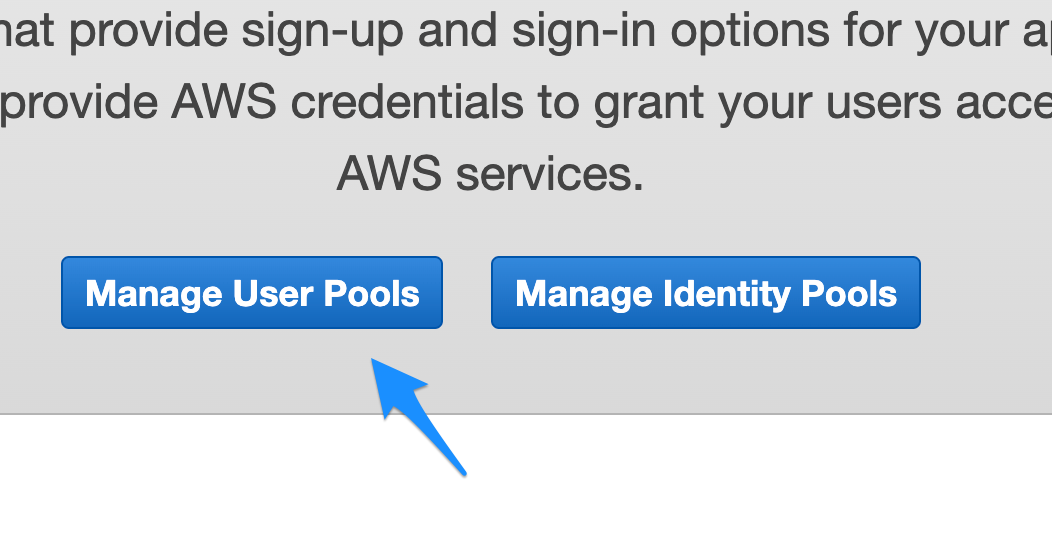
- Click on Manage User Pools.

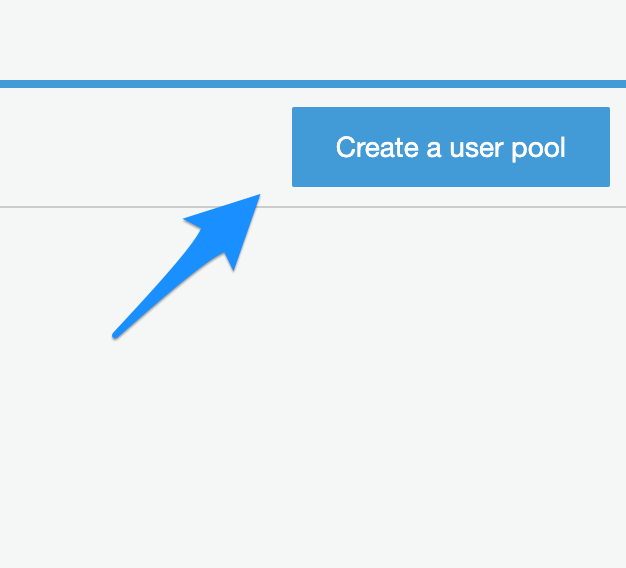
- Click on Create a User pool on top right.

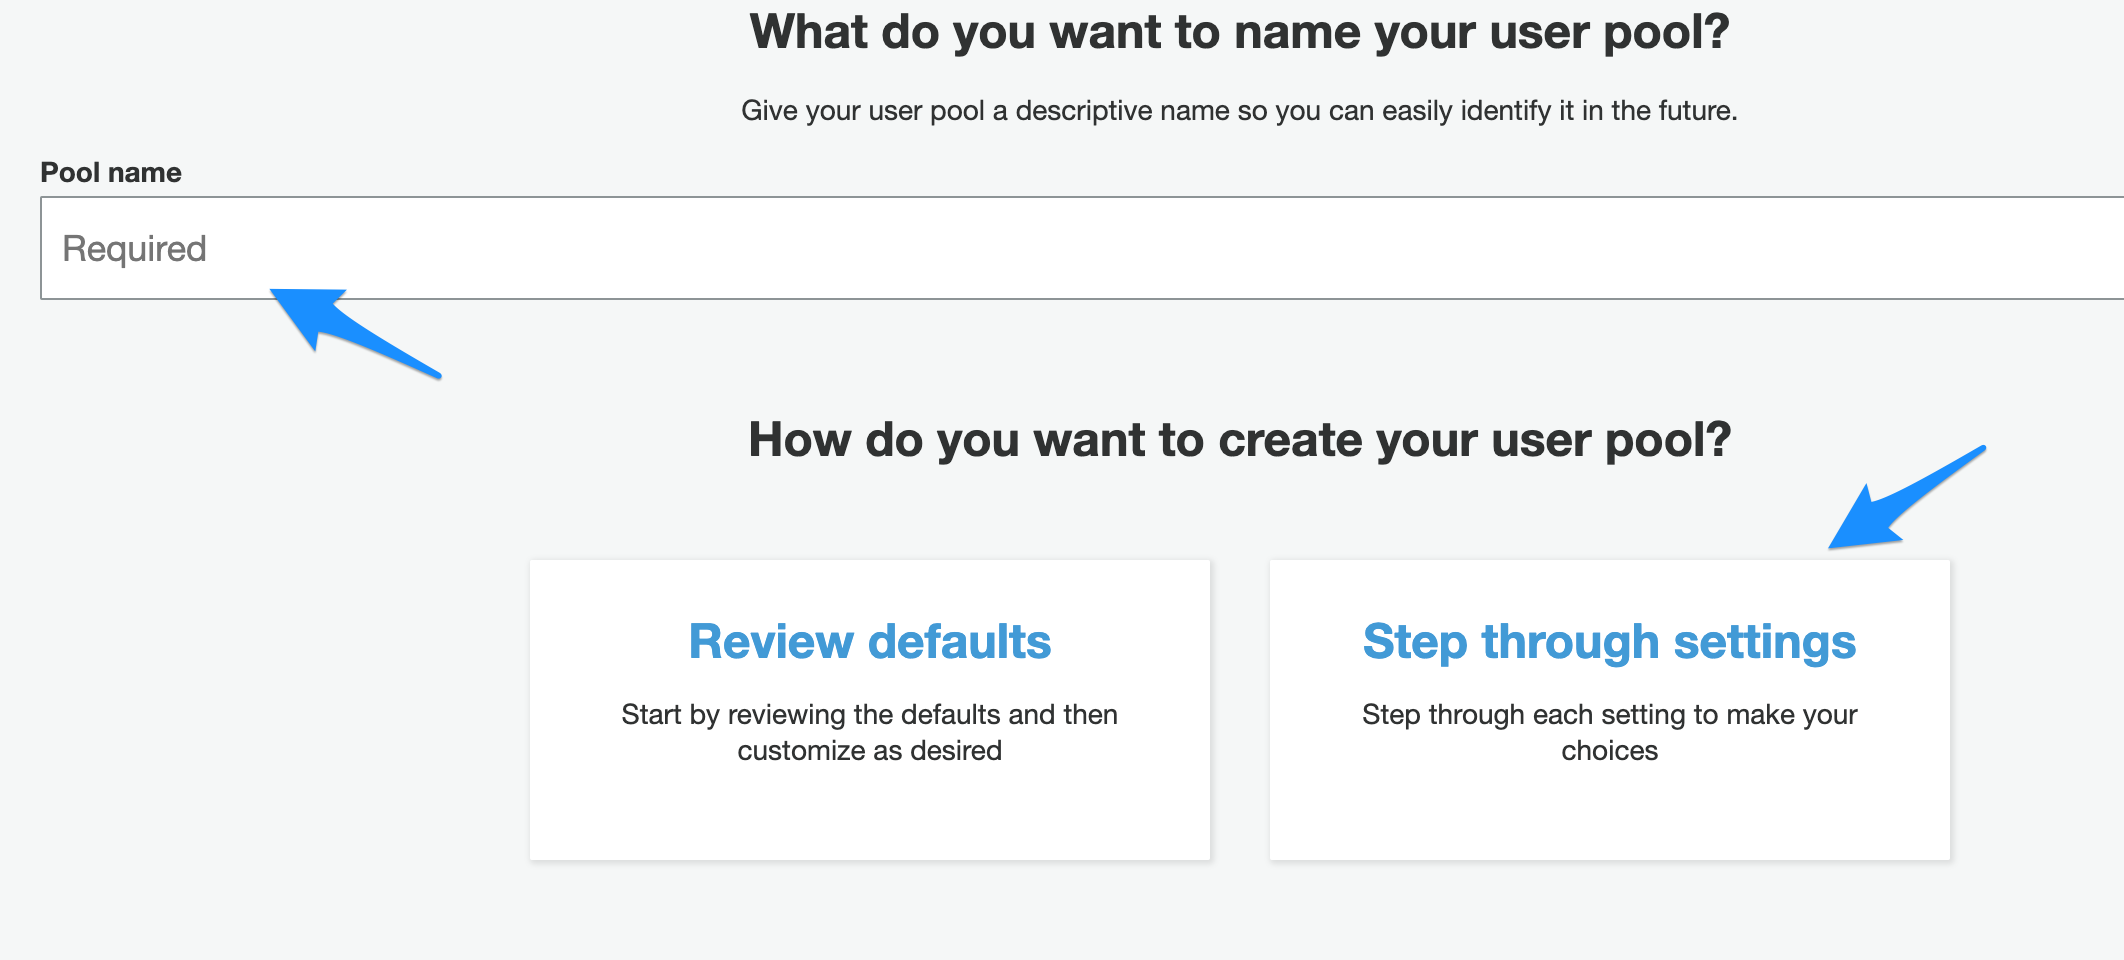
- Enter the Pool name
- Click on Step through Settings

- Select username under “How do you want your end users to sign in?”

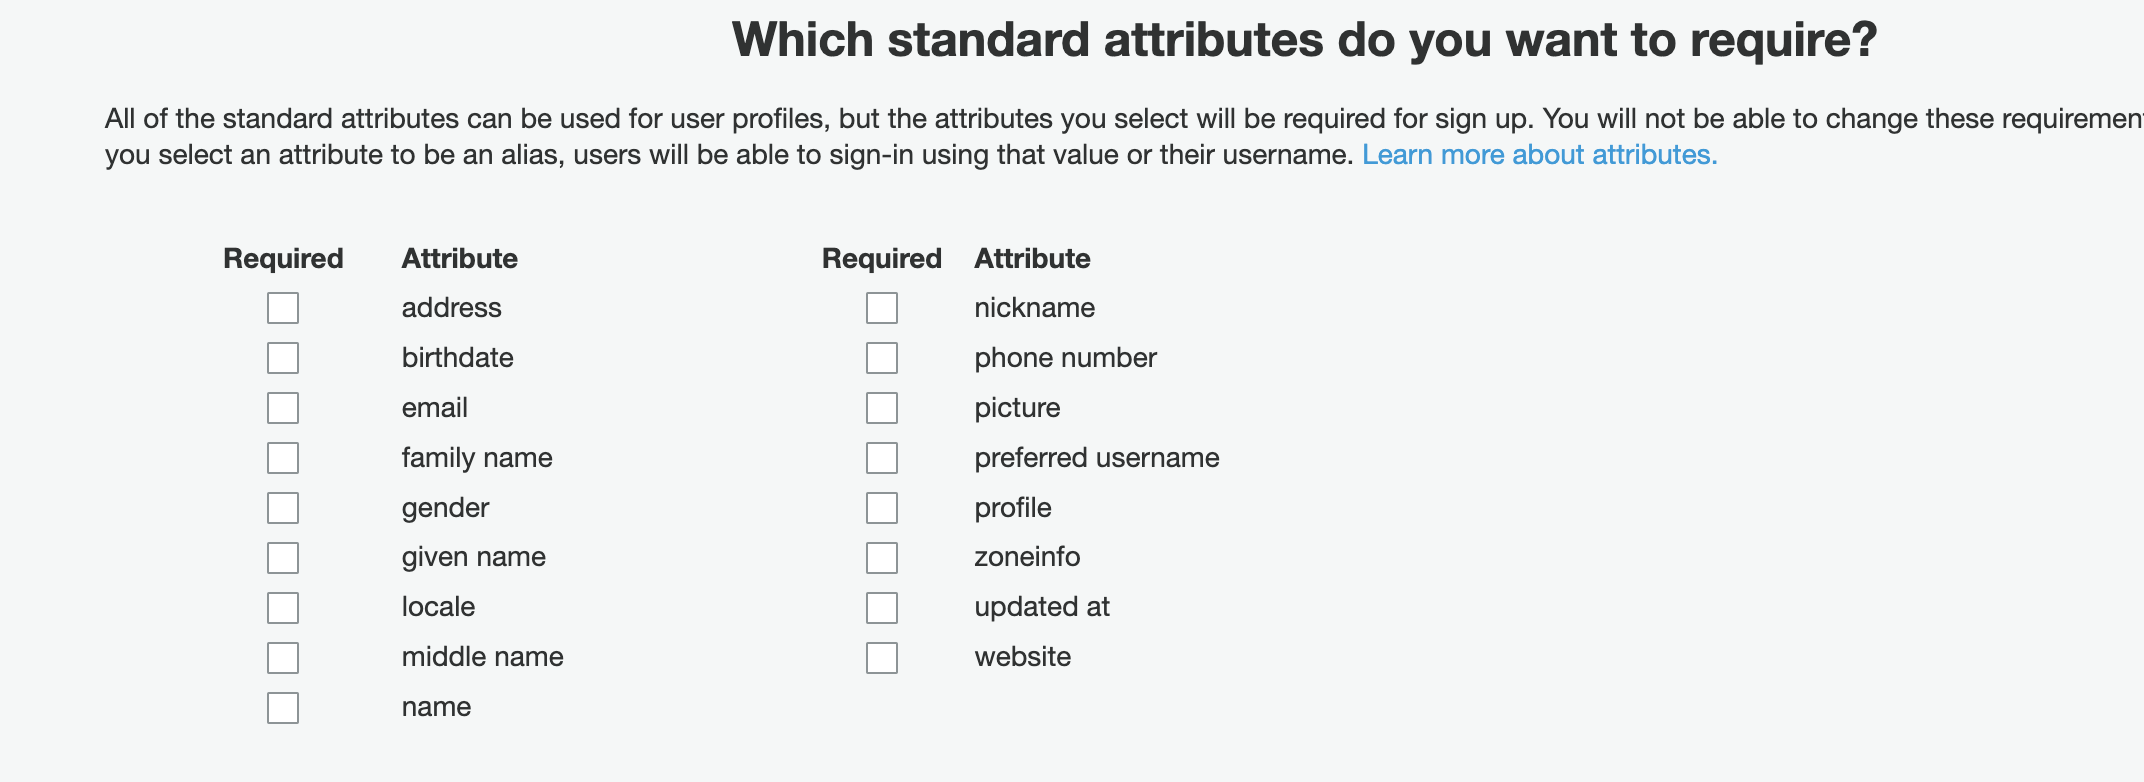
- Uncheck all options under “Which standard attributes do you want to require?”.

- Click Next Step
- On policies section you can keep the default values and click Next
- On the MFA and verifications keep the default values and click Next.
- On the Message customizations section keep the default values and click Next
- On the Tags sections keep the default values and click Next
- On the Devices section keep the default values and click Next.
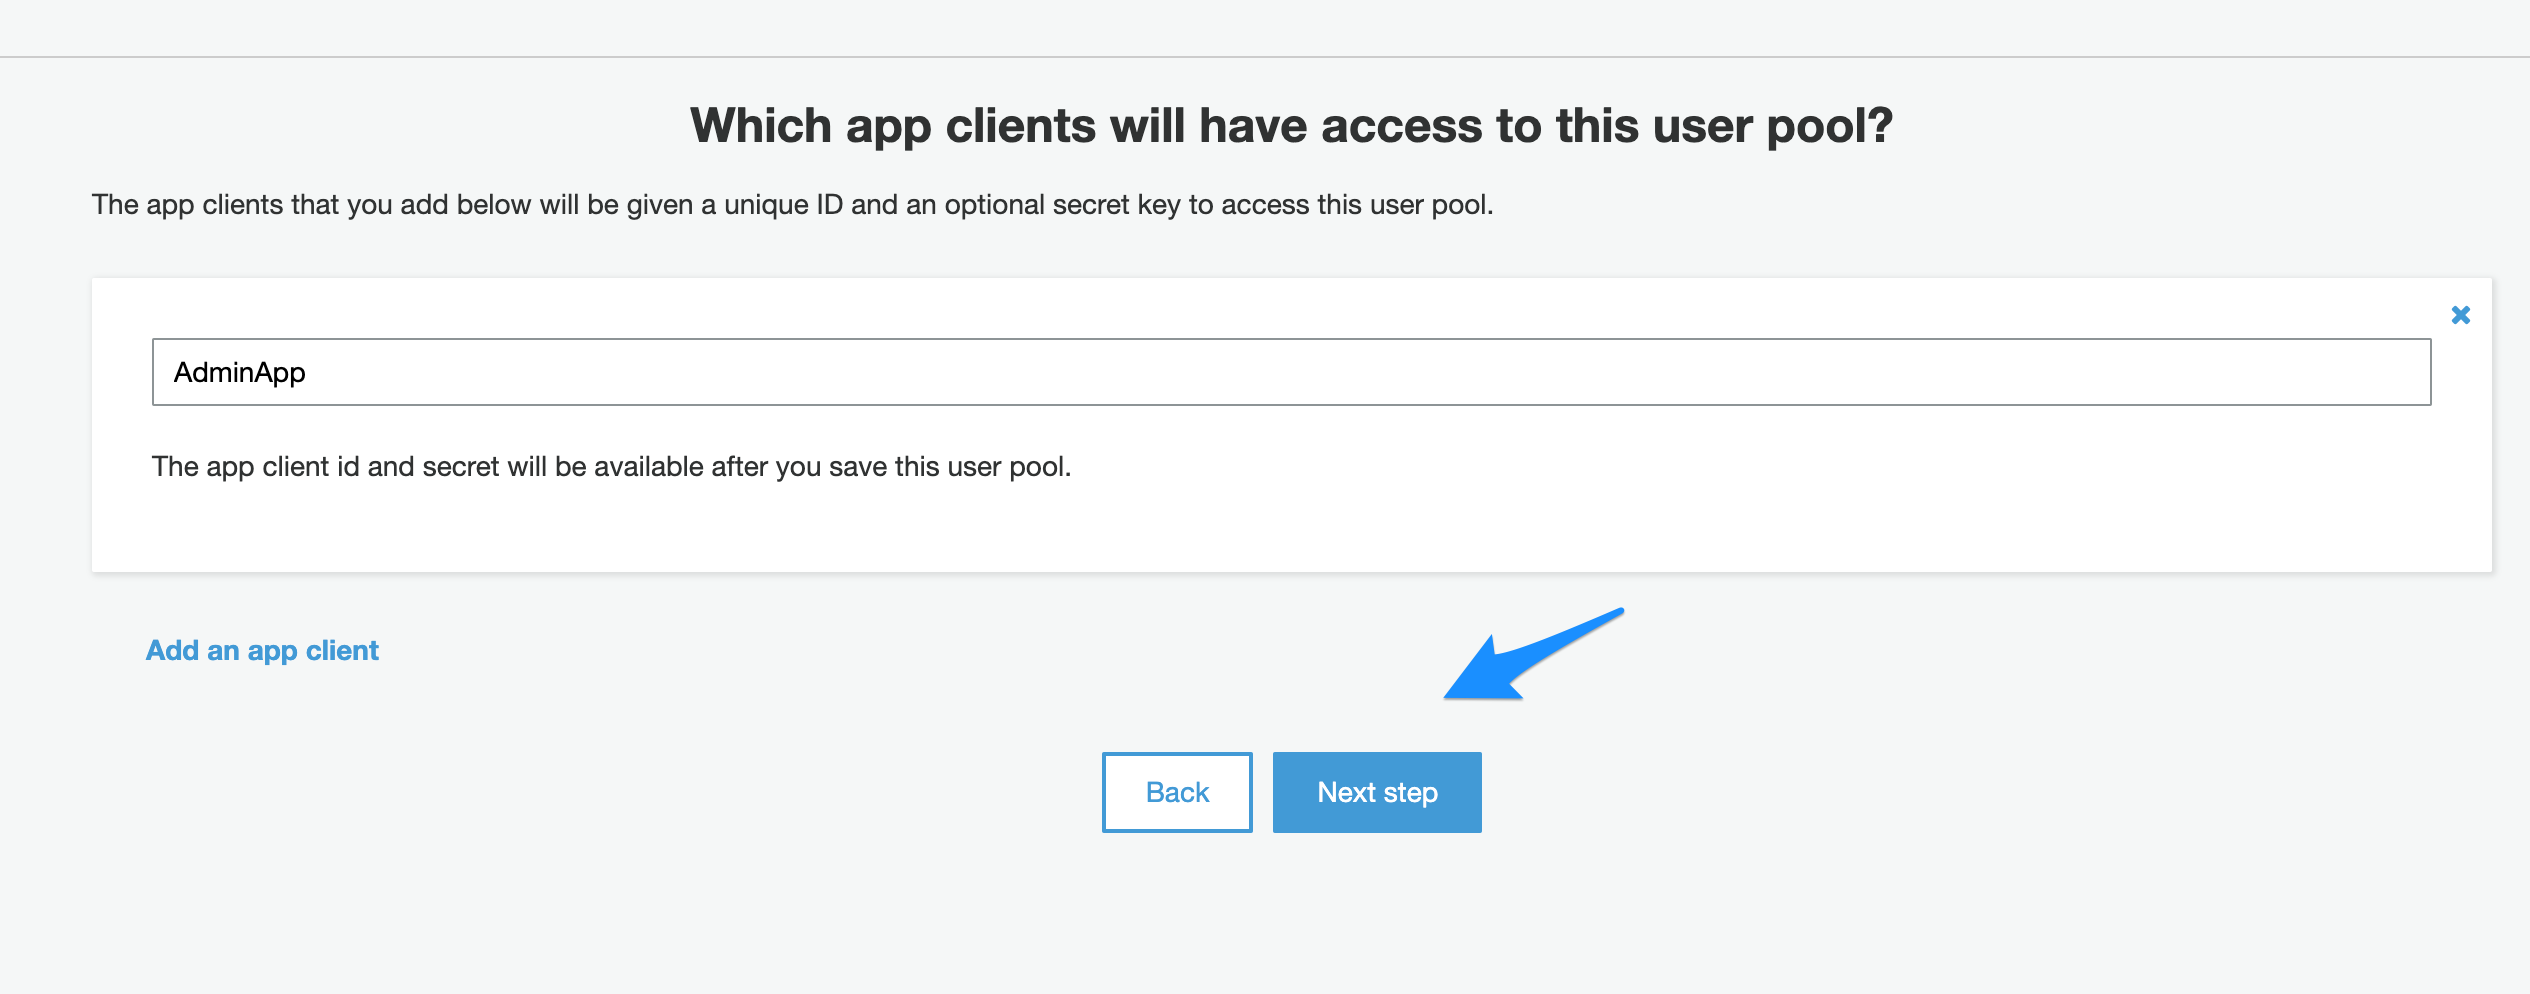
- On the App clients section click “Add an app client”

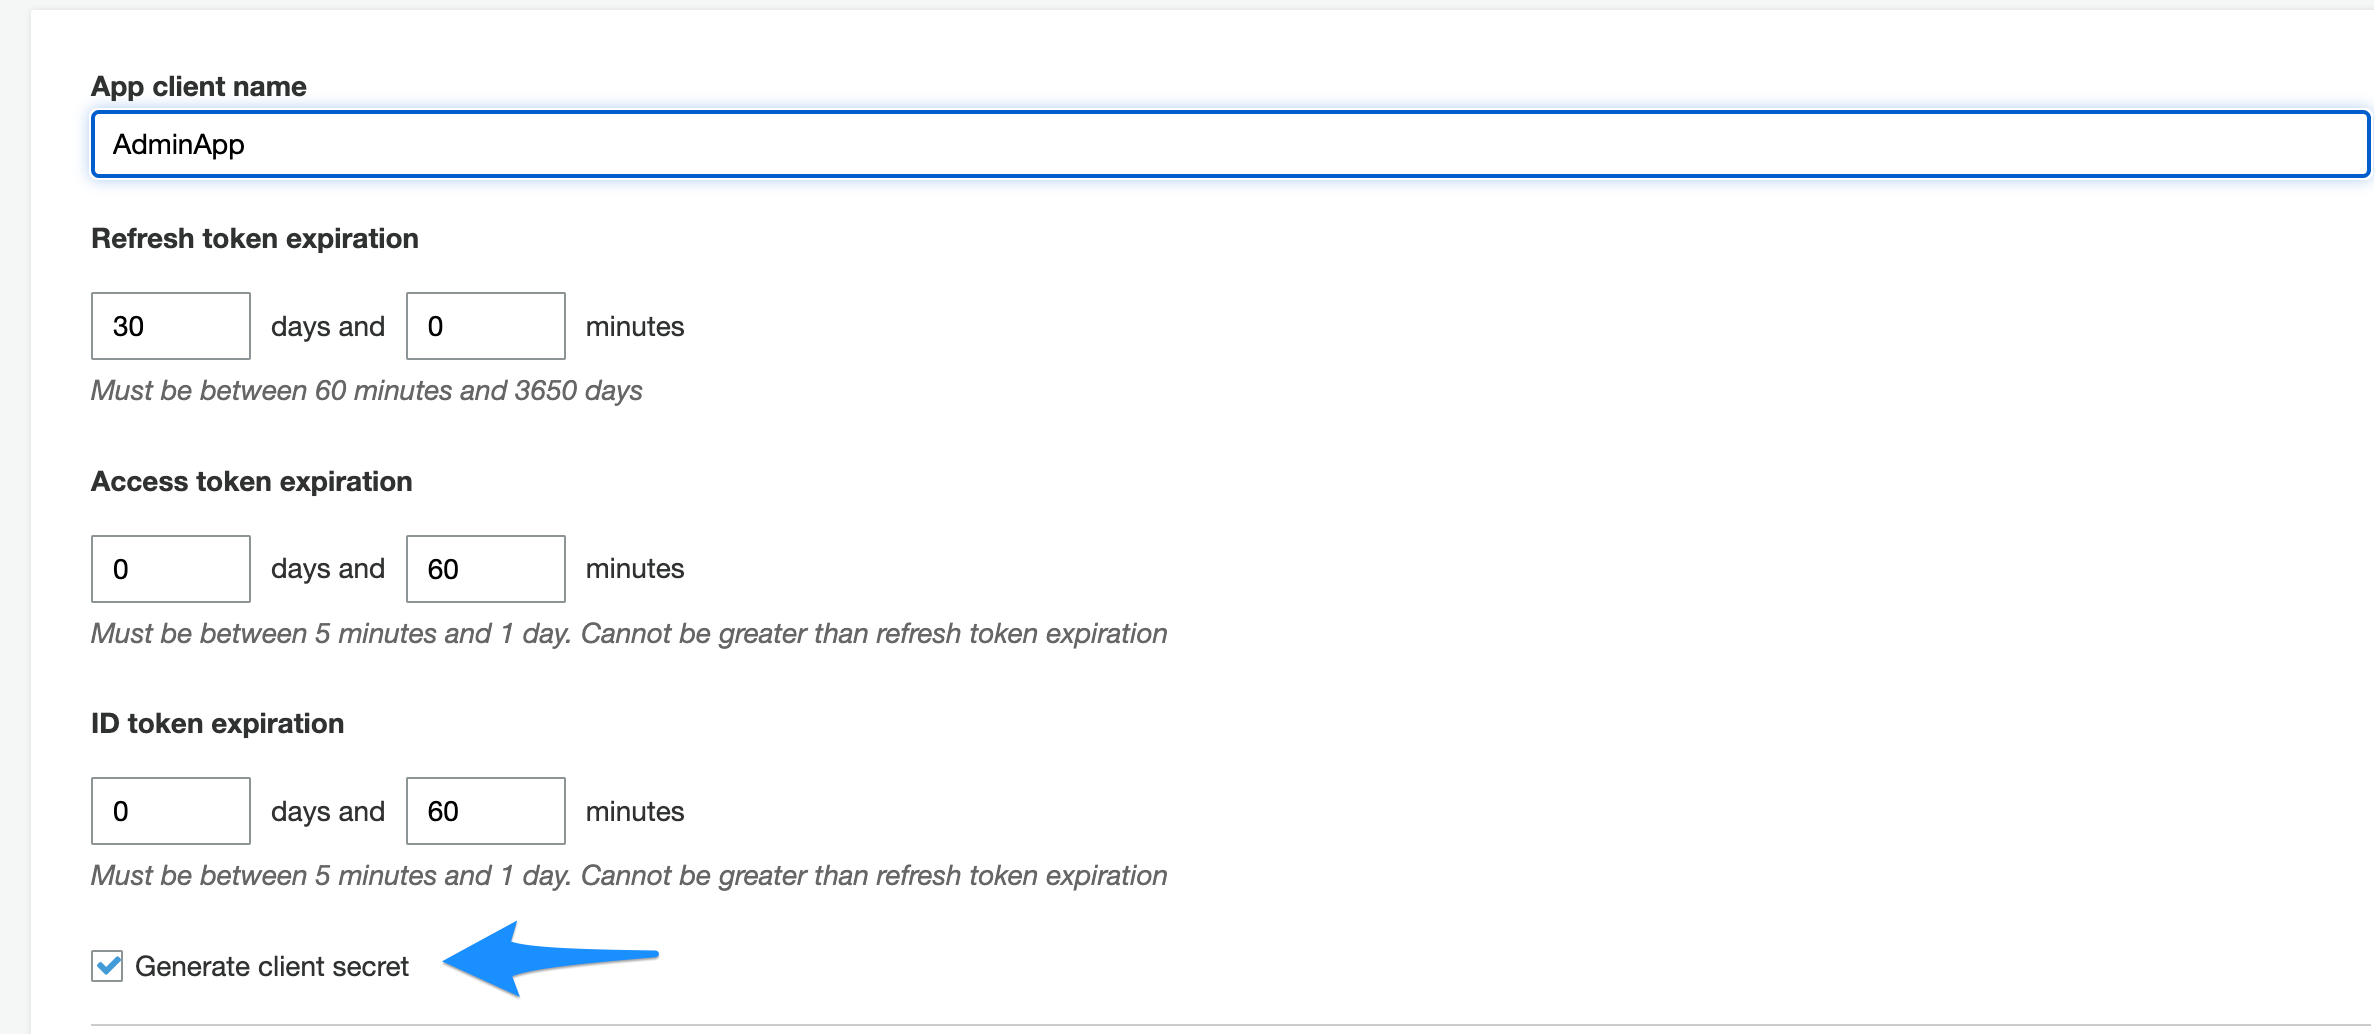
- Provide the app client name and check the “Generate client secret” checkbox.

- Click “Create App client” button.
- Click Next Step.

- On the Triggers section keep the default values and click Next.
- On the Review Page click “Create Pool”
- Now your pool is created.
- Goto “Domain name” under App integreation
- Enter your domain name
- Click “Check Availability”
- Click Save.
Configure SAML integration between Cisco Duo and AWS Cognito.
Part 1: Cognito SAML Configuration
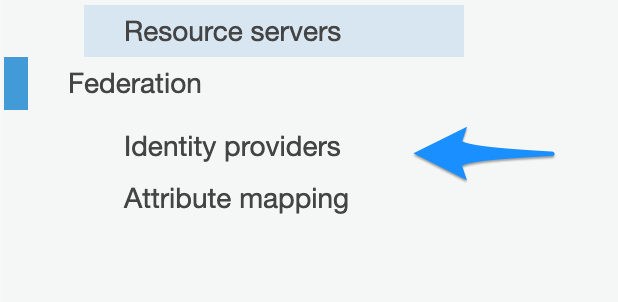
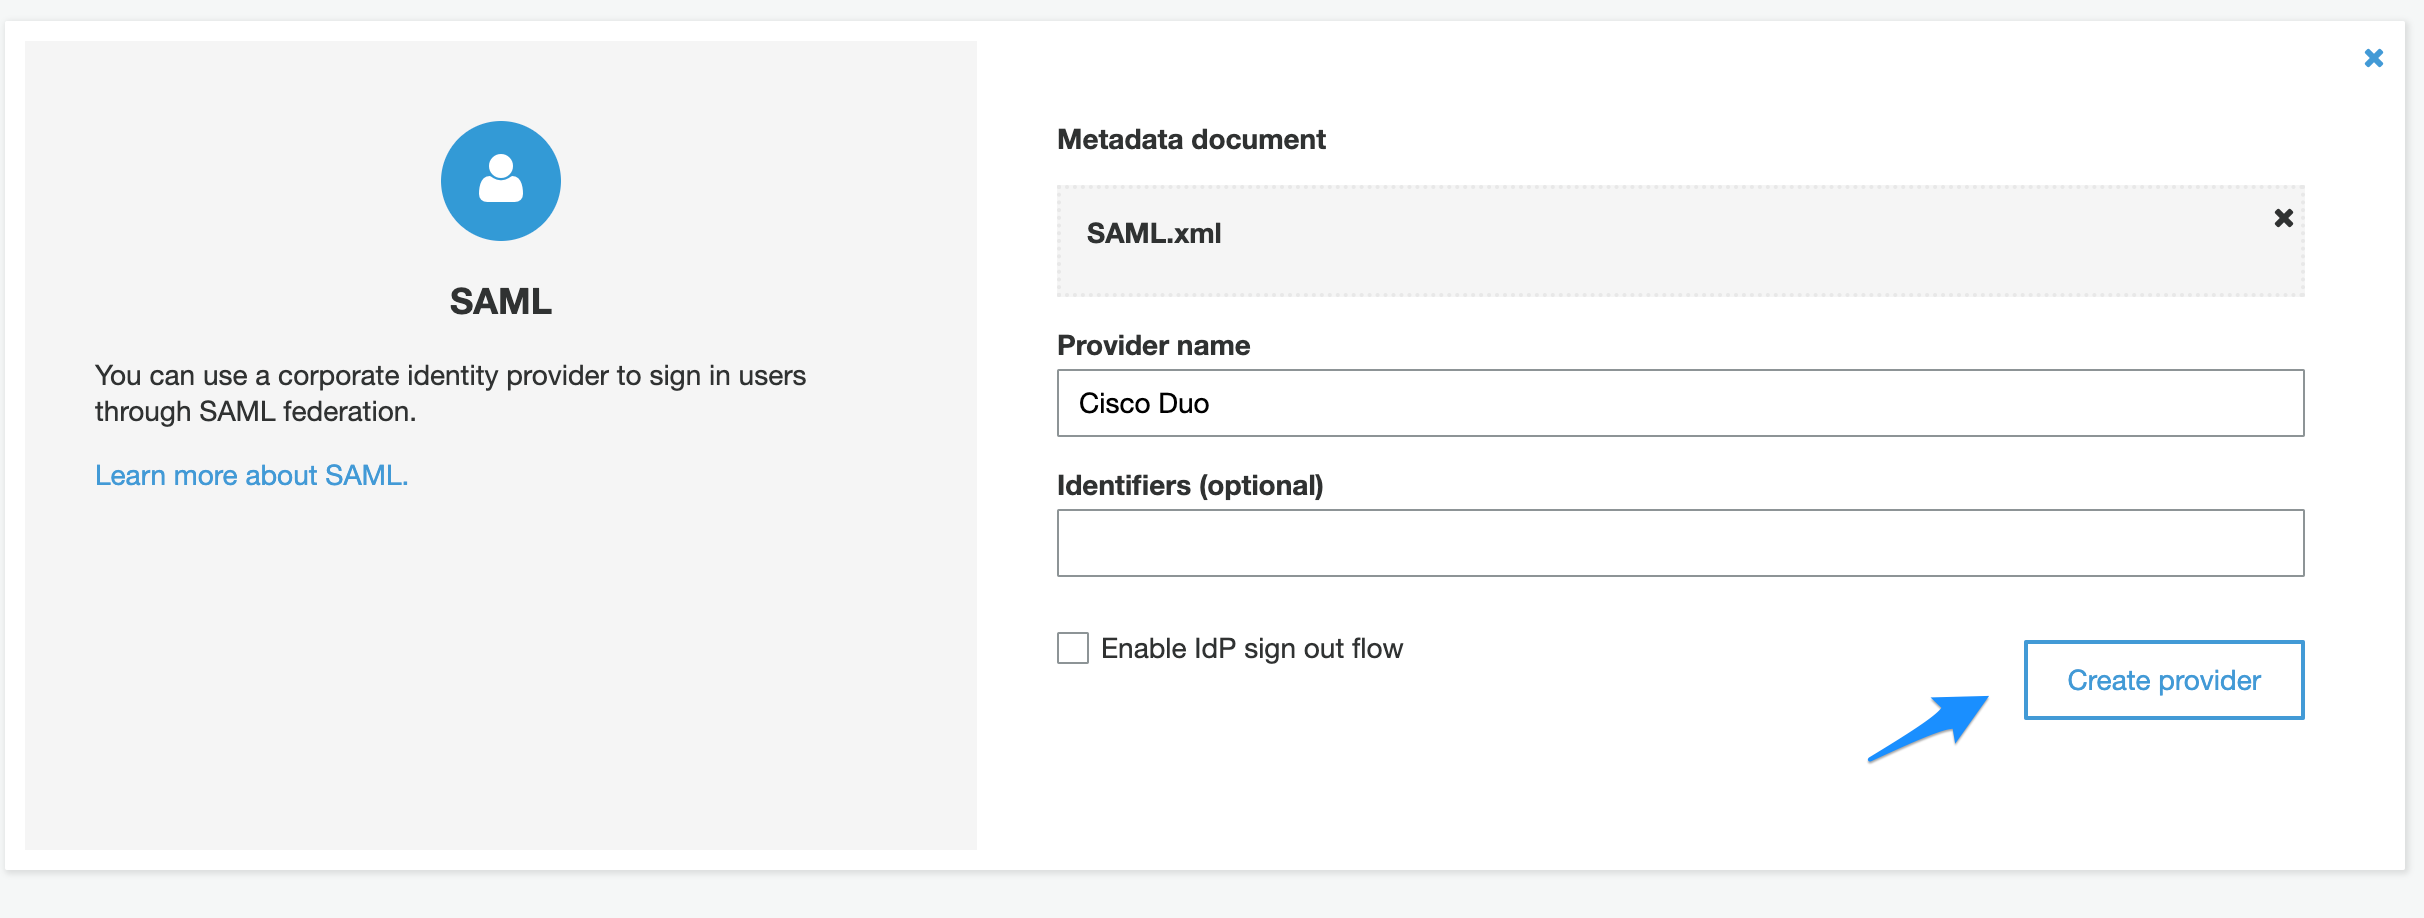
- Click on Identity providers under Federation.

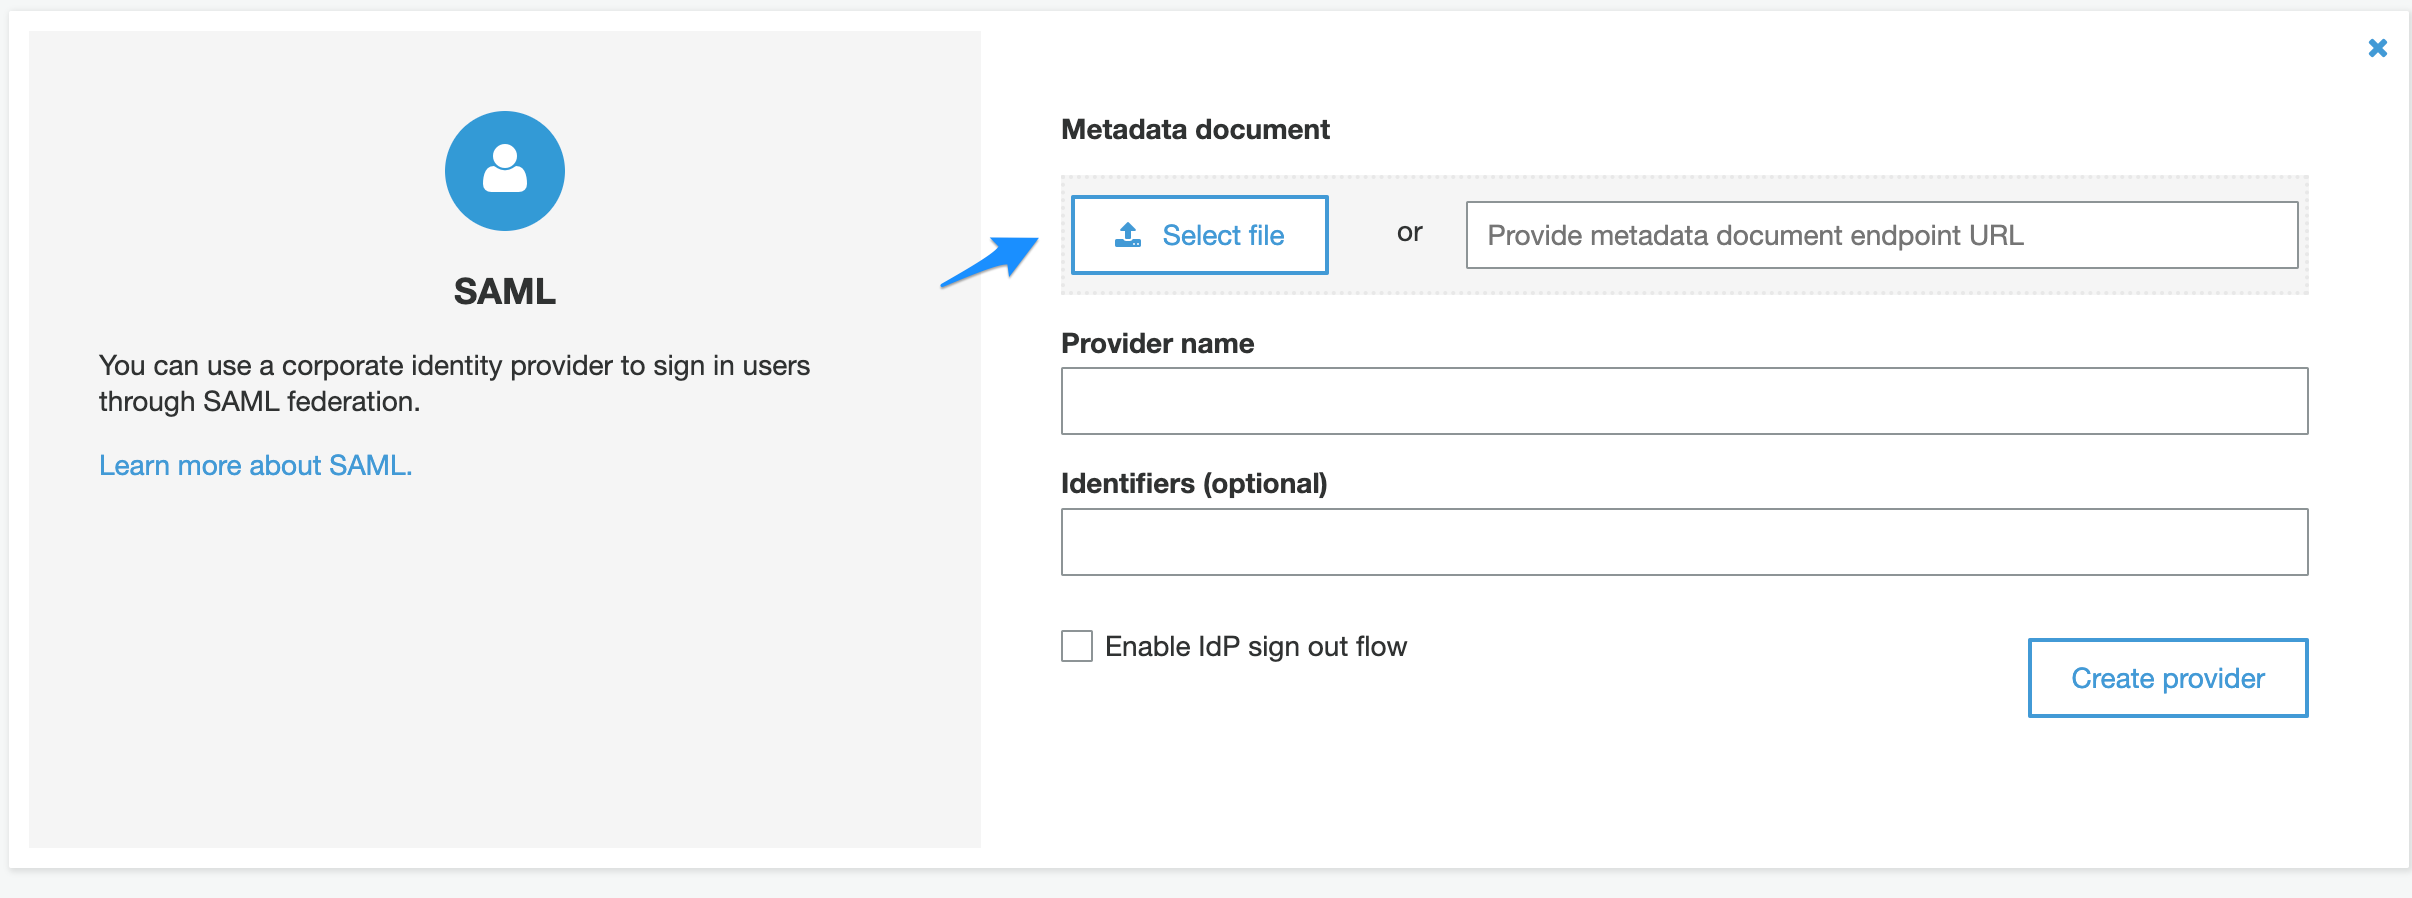
- Click on SAML.

- Click on Select file and select the XML file downloaded earlier from Cisco Duo.

- Enter the provider name.
- Click “Create provider”

Part 2: Cisco Duo SAML Configuration
- Enter Entity ID on Generic Application we created earlier on Cisco Duo. urn:amazon:cognito:sp: + Pool ID. e.g: urn:amazon:cognito:sp:us-east-1_5mGw9bYIy
- Assertion Consumer Service (ACS) URL, this is generated based on the domain name you entered earlier in your Cognito configuration. e.g: https://hameedadminapp.auth.us-east-1.amazoncognito.com/saml2/idpresponse
- Click Save.
Integrating AWS ALB with Cognito
Part 1: Configure Cognito App to work with AWS ALB.
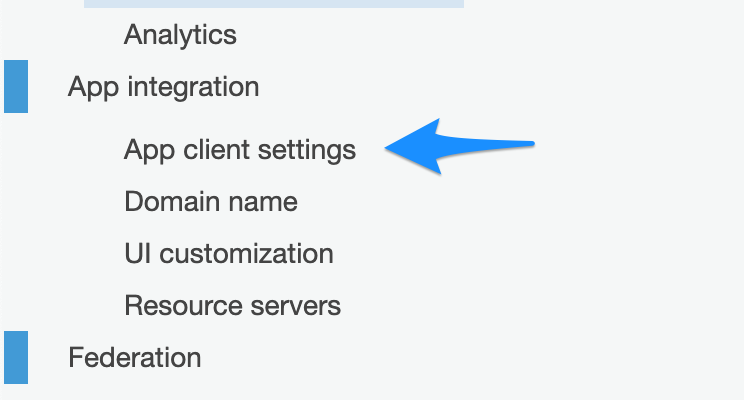
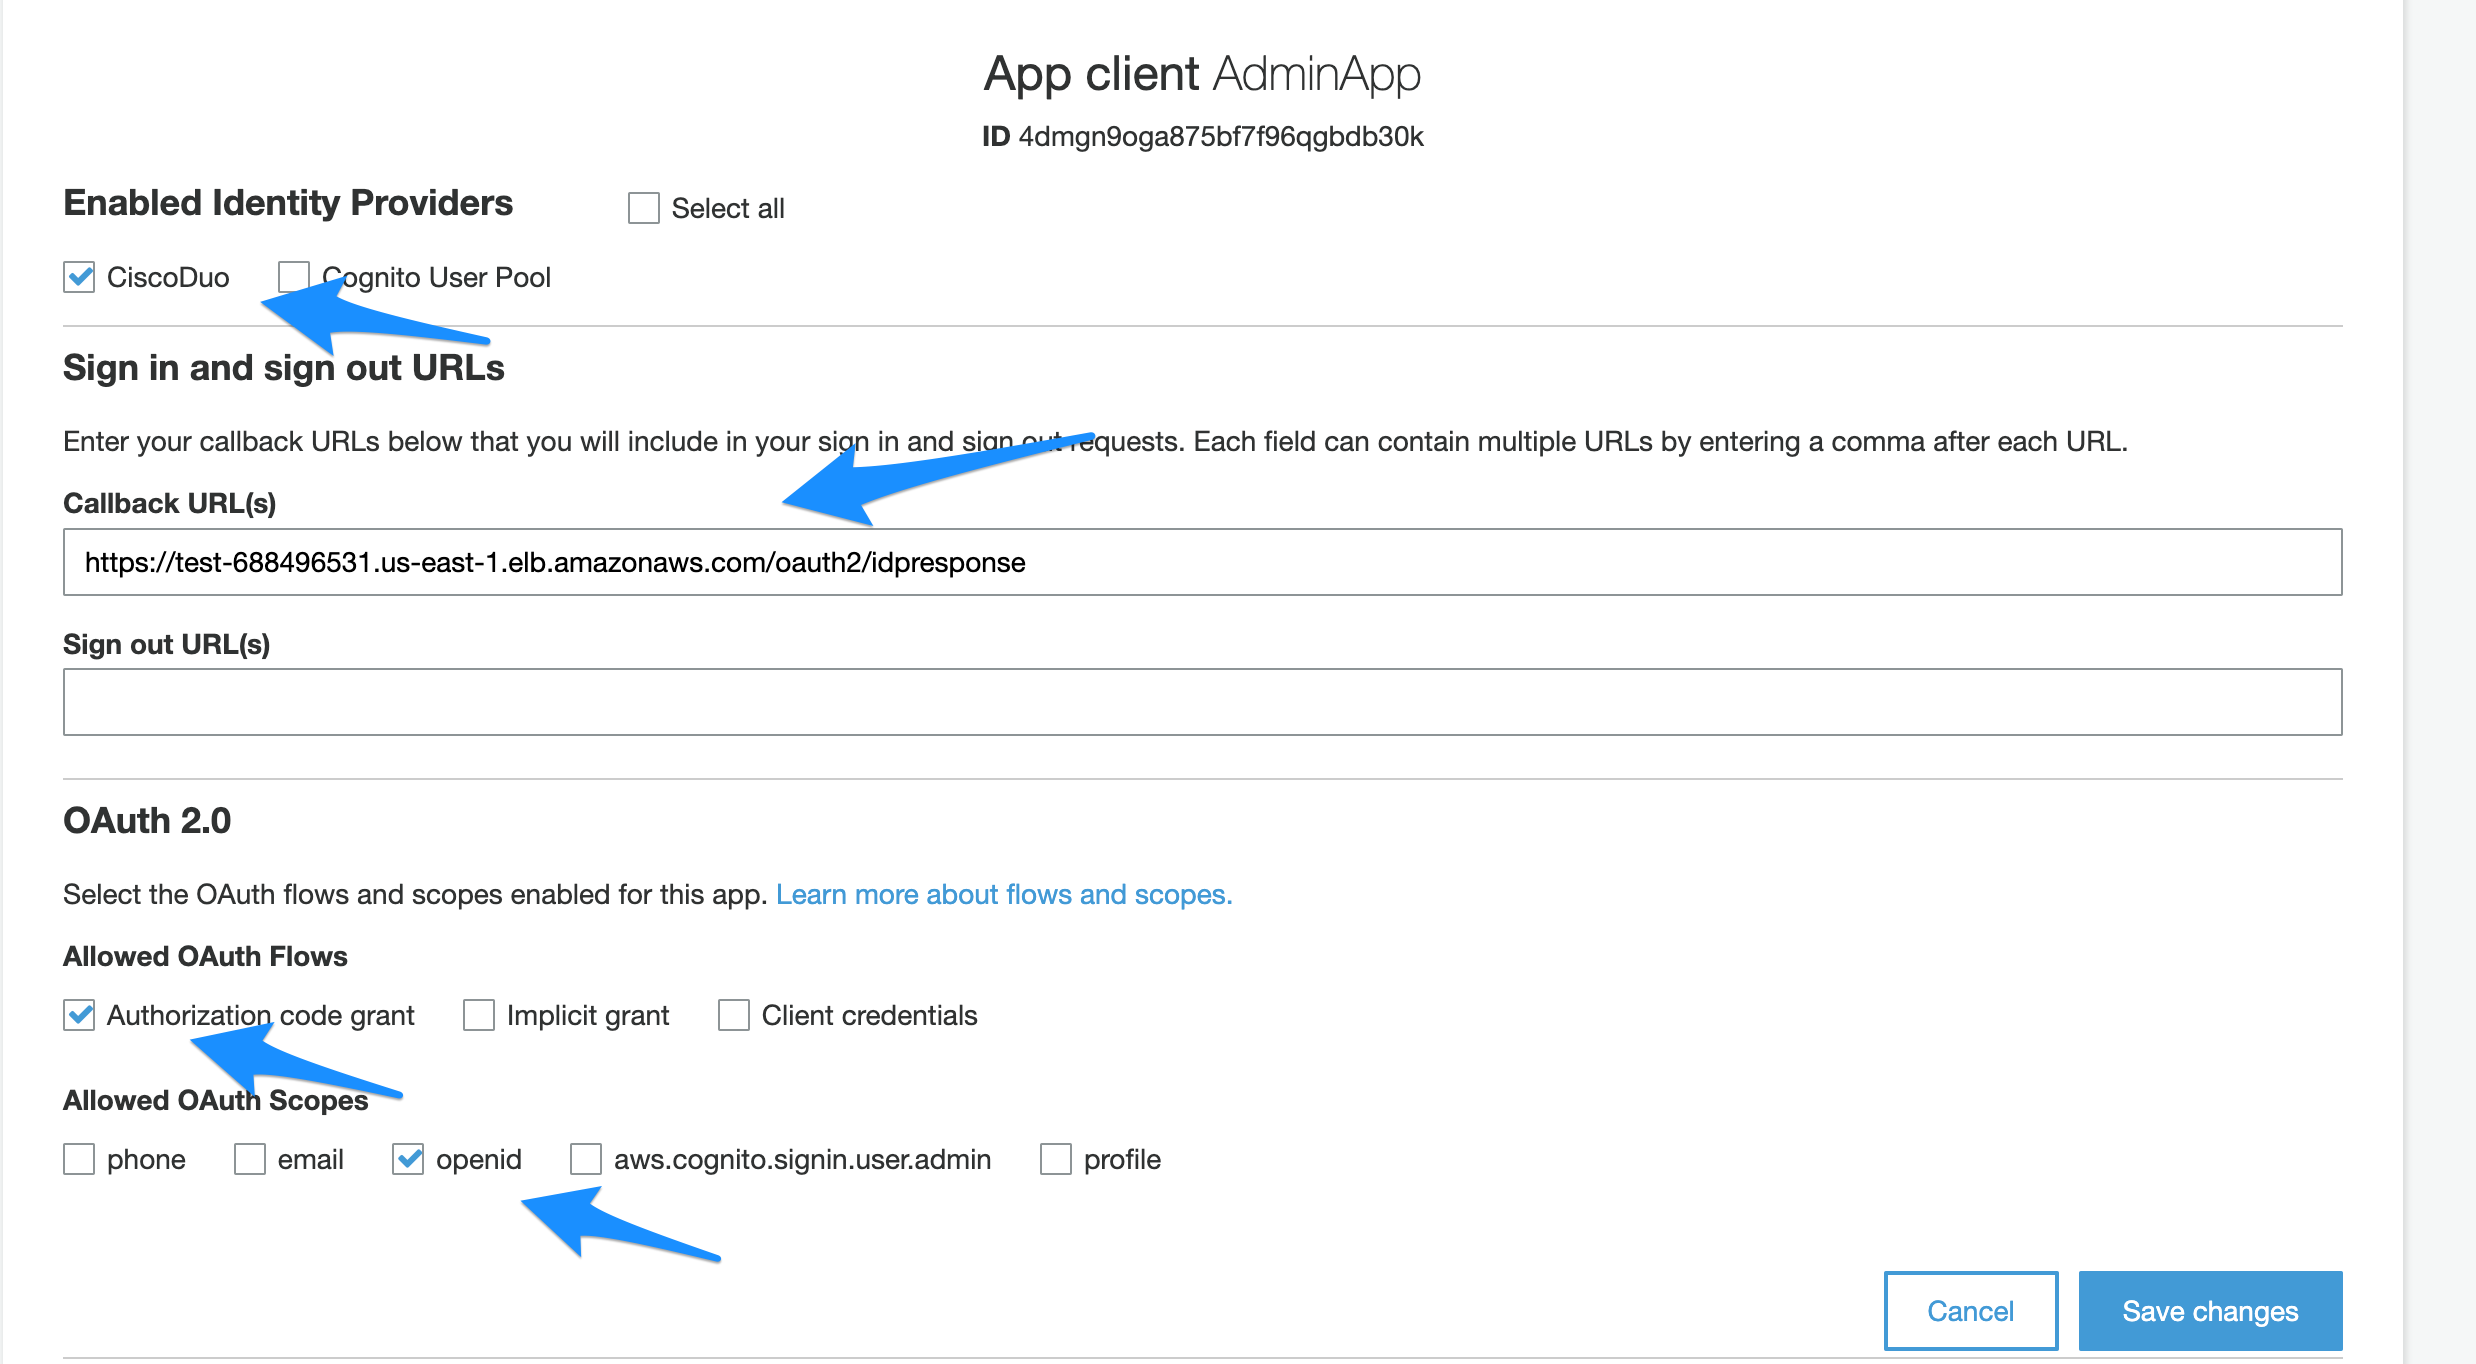
- Goto “App client settings” under App integration.

- Check the new Provider you created earlier.
- Under the call back url provide the url which is generated from your load balancer hostname. It can be custom hostname which is pointing to your AWS ALB or it can be the ALB DNS Name. For this example we will use AWS ALB Dns Name. e.g: https://test-688496531.us-east-1.elb.amazonaws.com/oauth2/idpresponse
- Configure OAuth 2.0
- Check “Authorization Code Grant” under “Allowed OAuth Flows”.
- Check openid under “Allowed OAuth Scopes”.
- Click “Save Changes”

Part 2: Configure AWS ALB to use the new AWS Cognito Pool for authentication
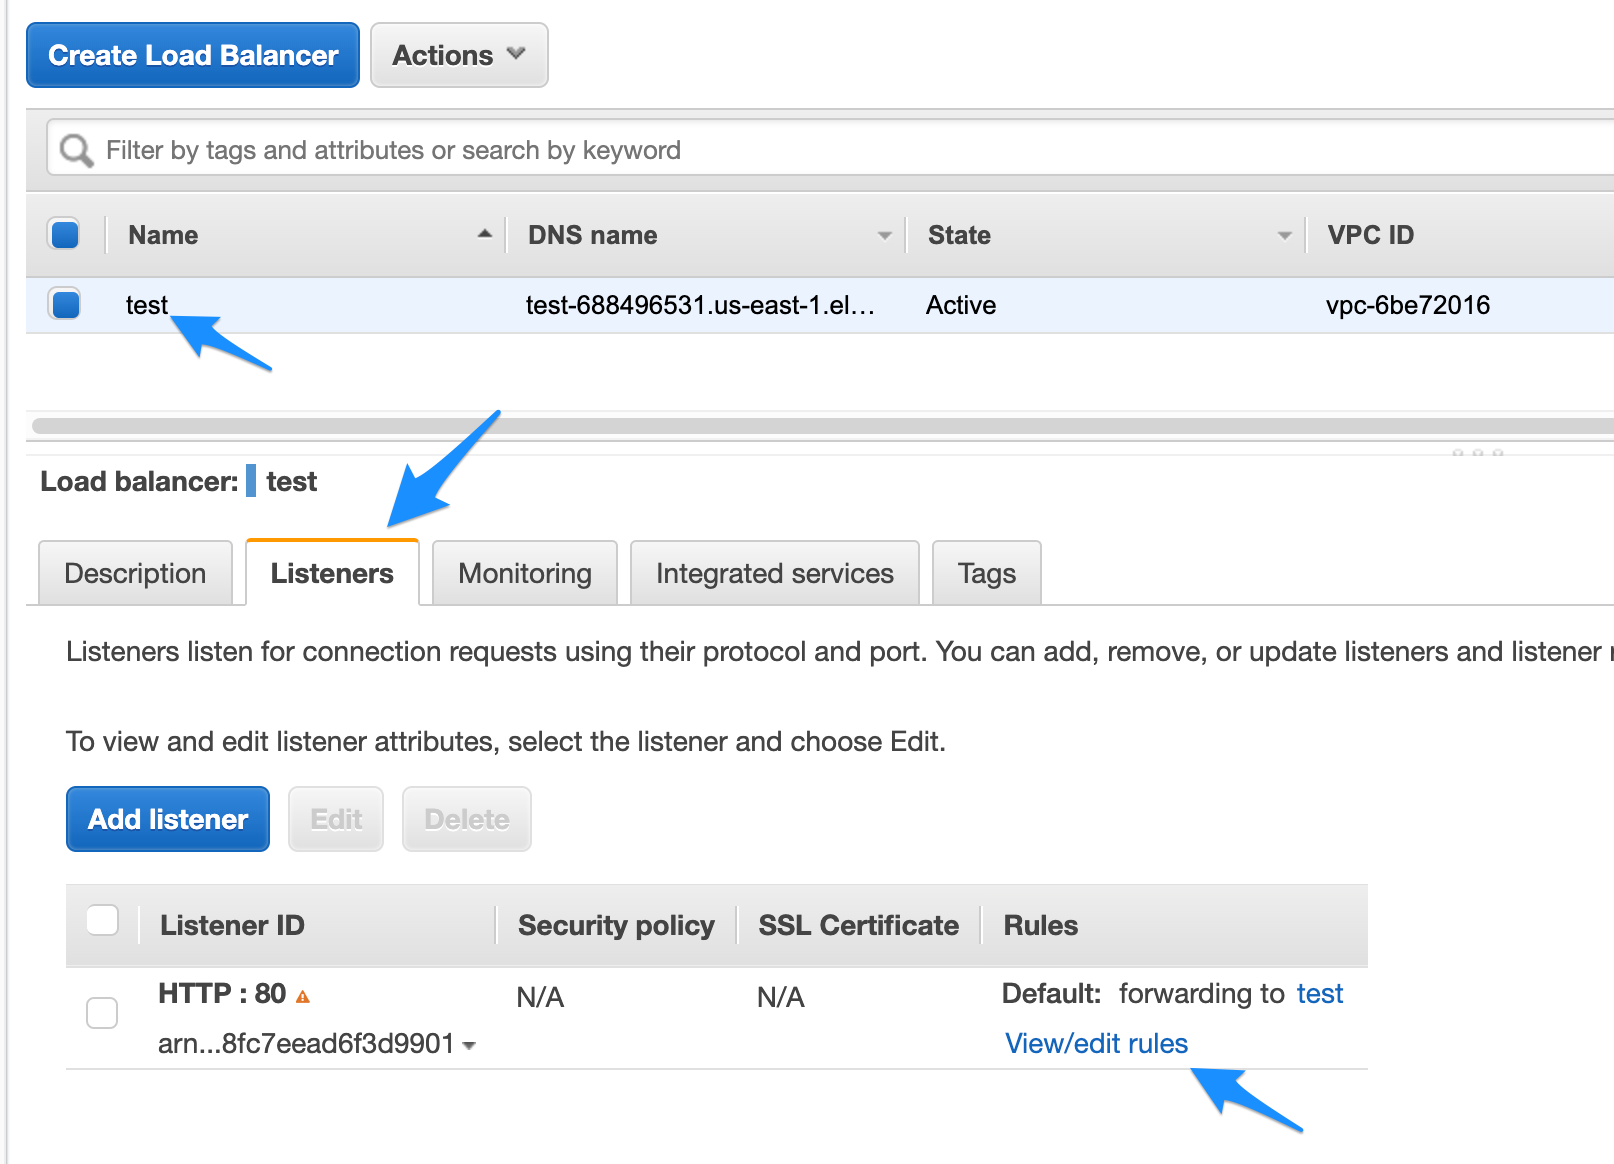
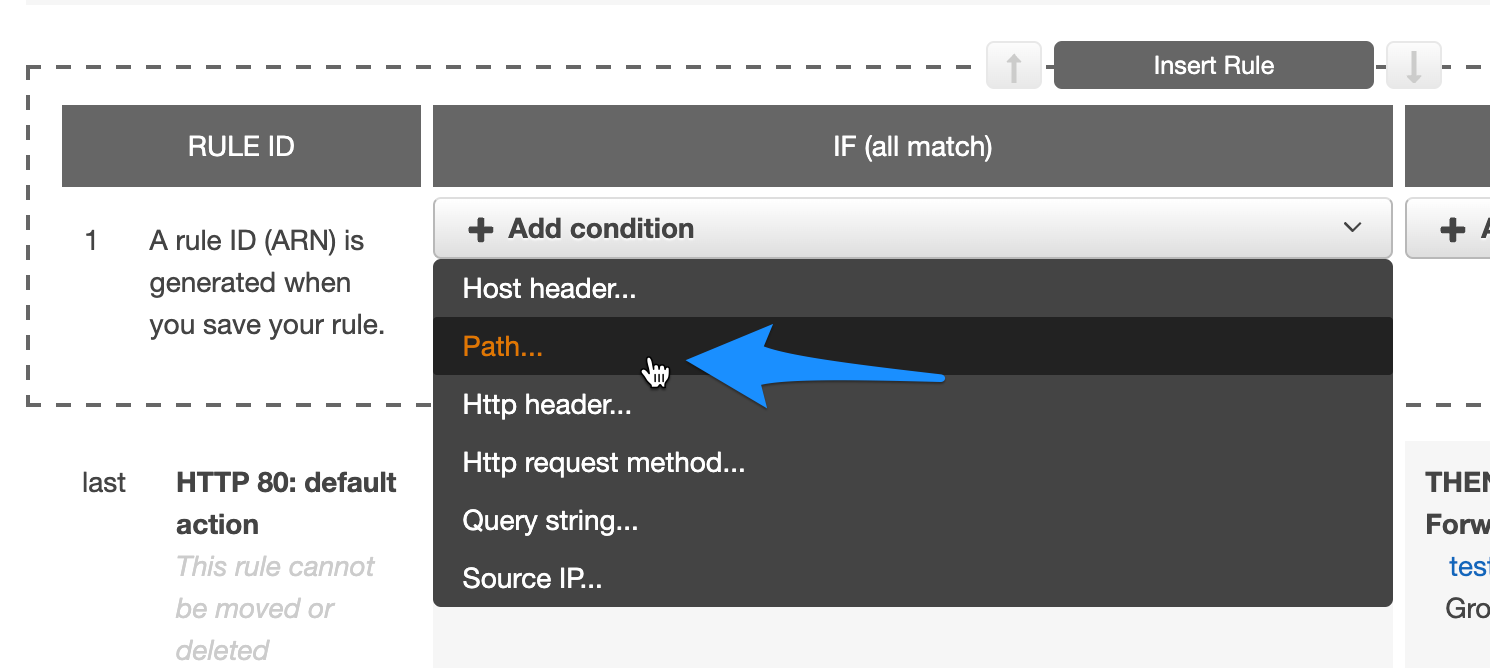
- Goto your Load balancer and click on Listeners tab and then click on edit rules.

- Add new rule.
- Under Add condition select path.

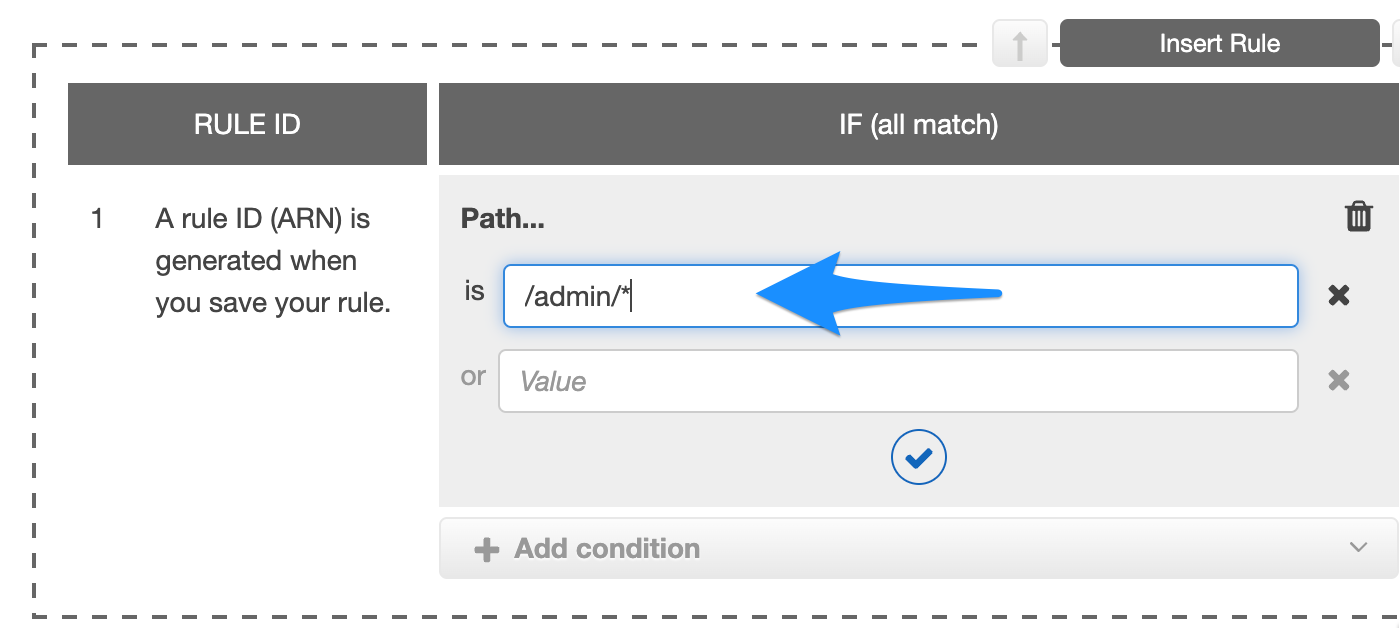
- Assuming admin section of your app is at /admin, enter the path e.g: /admin/*

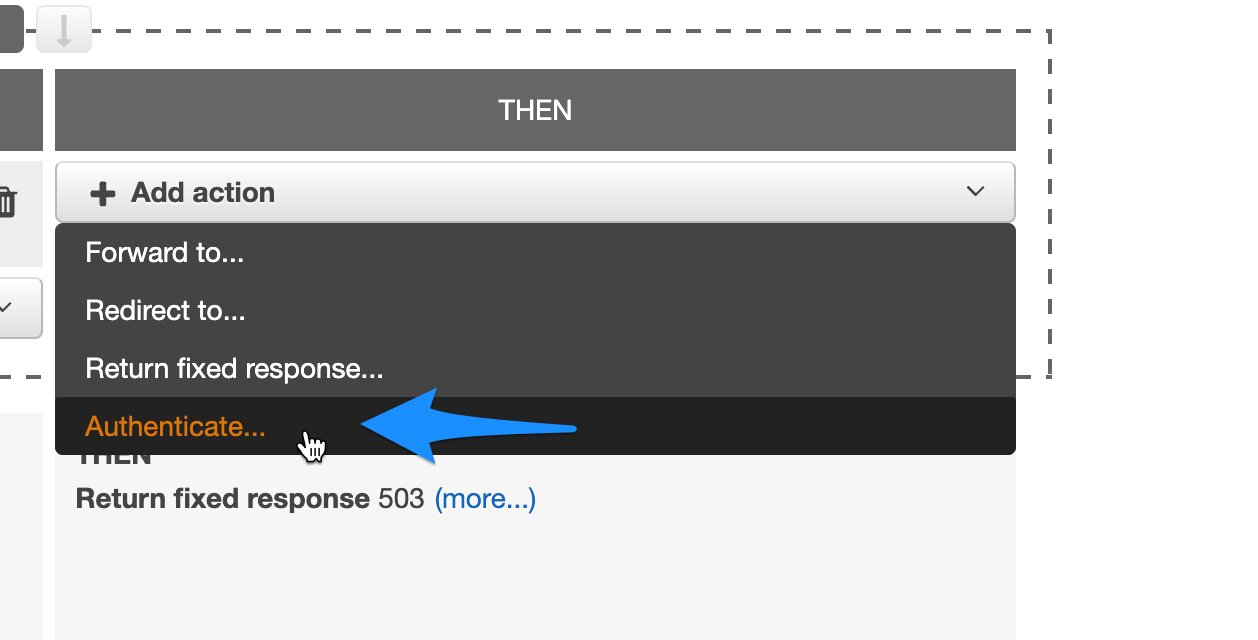
- Under action select authenticate.

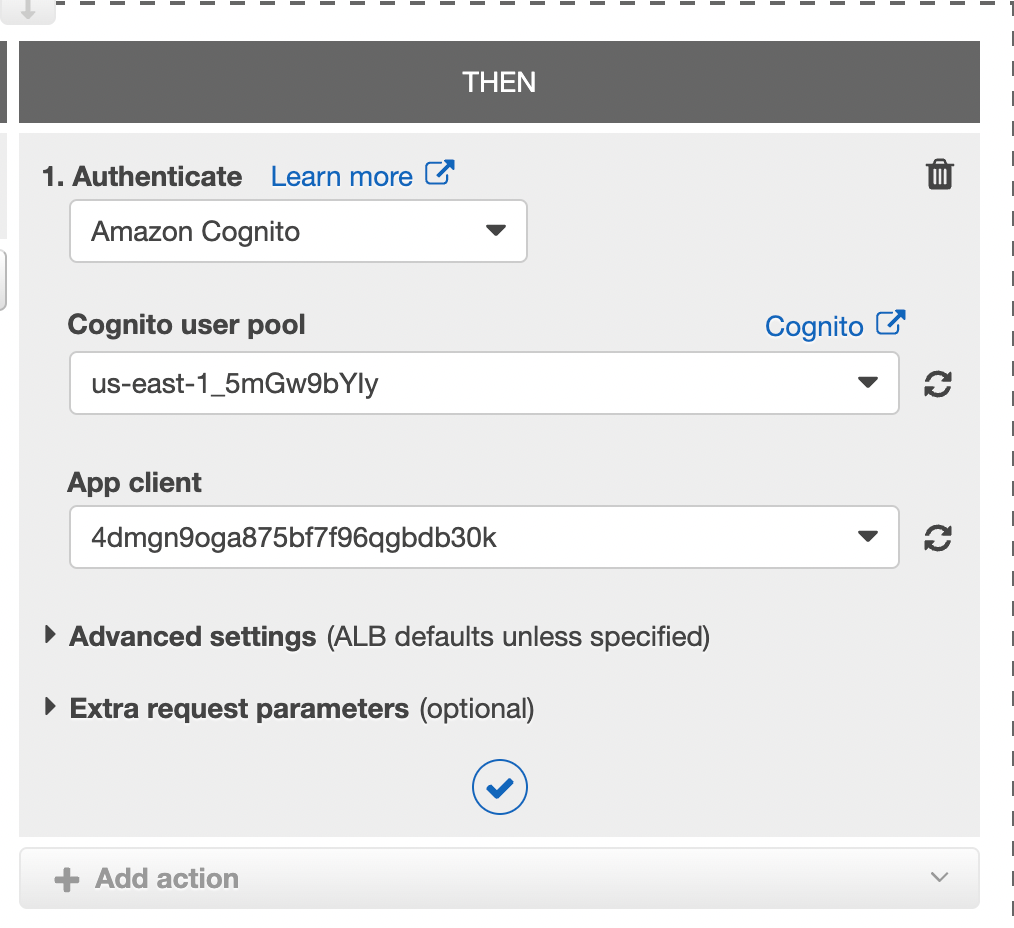
- Under the Authenticate dropdown select “Amazon Cognito”
- From Cognito user pool select the user pool we created.
- From App client select the app client we created.

- In the actions section add step 2 and forward the request to your target group.

- Click Save.
Now if you will visit your app’s /admin/ url and you should be redirected to Cisco Duo for authentication. Once you complete the authentication with Cisco Duo it will redirect you back to your application admin section.


