
Introduction

In the world of cloud-native computing, Kubernetes has emerged as a powerful platform for container orchestration. It provides a flexible and scalable solution for deploying and managing containerized applications. However, setting up and managing a Kubernetes cluster manually can be a complex and time-consuming process. That’s where Amazon Elastic Kubernetes Service (EKS) comes into play. EKS is a fully managed Kubernetes service provided by AWS that simplifies the deployment and management of Kubernetes clusters. In this technical blog, we will explore the process of bootstrapping an EKS cluster using Terraform, a popular Infrastructure as Code (IaC) tool. By leveraging Terraform’s declarative syntax and AWS resources, we can automate the provisioning of a robust EKS cluster with ease.
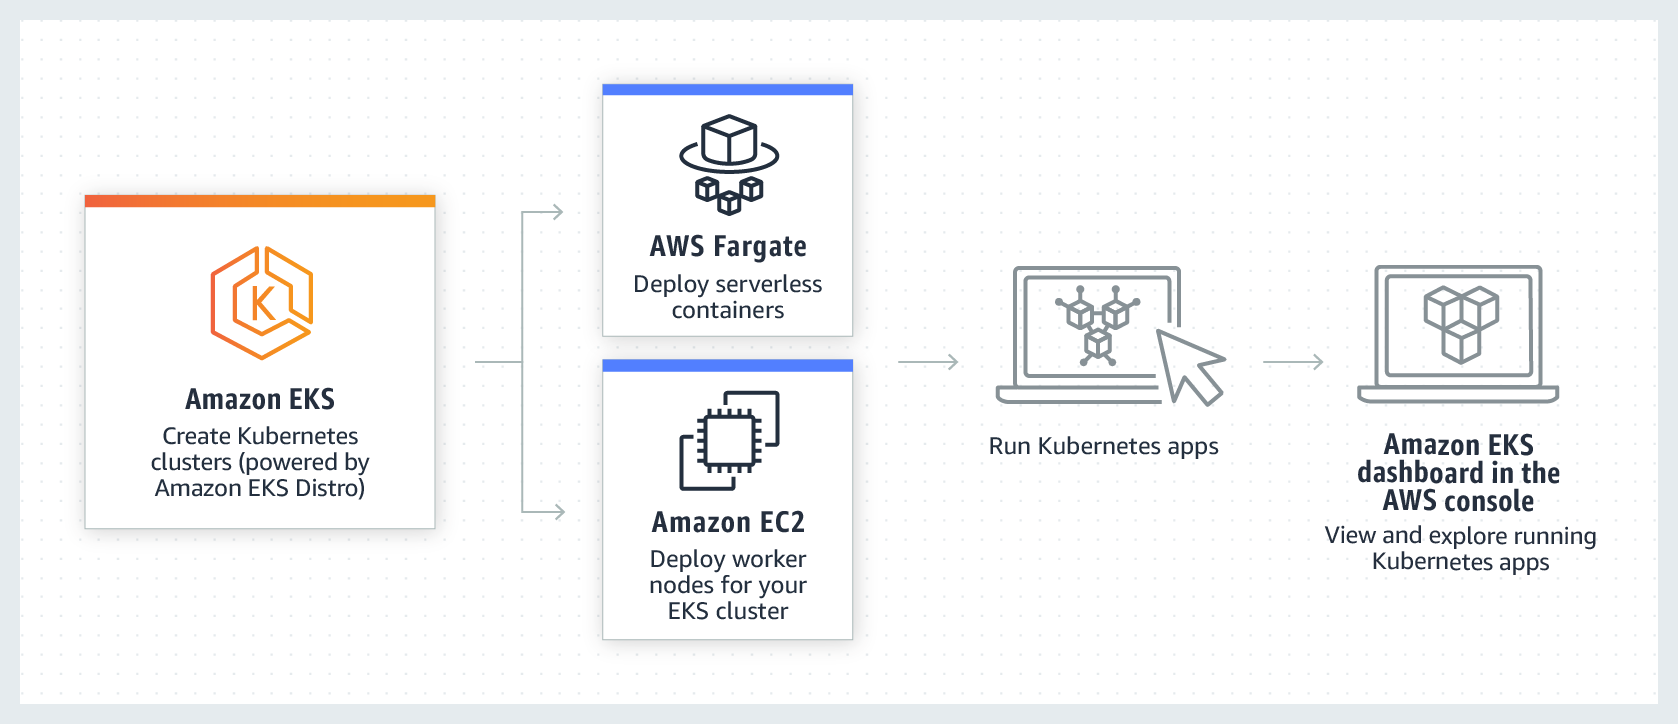
What is EKS?

Amazon Elastic Kubernetes Service (EKS) is a fully managed service provided by AWS that enables the deployment and management of Kubernetes clusters. With EKS, AWS takes care of the underlying infrastructure, including server provisioning, cluster orchestration, and scaling, allowing developers to focus on application deployment and management. EKS integrates seamlessly with other AWS services, providing a unified and scalable solution for running containerized applications. It offers features such as automatic scaling, high availability, and security, making it an ideal choice for organizations looking to leverage the power of Kubernetes without the operational overhead.
What is Terraform
HashiCorp created the open-source Infrastructure as Code (IaC) technology called Terraform. For creating and managing infrastructure resources across several cloud platforms, it offers a declarative language. Infrastructure settings may be defined as code with Terraform, enabling version control, teamwork, and automation. Users describe the intended state of their infrastructure in Terraform configuration files, and Terraform handles provisioning and managing the resources to match that desired state, according to a “write, plan, and apply” approach. It is a flexible solution for managing infrastructure across several cloud platforms since it offers a wide choice of providers, including AWS, Azure, Google Cloud, and more.
Requirements to deploy an eSK cluster on AWS
To deploy an EKS cluster with Terraform, there are a few requirements that need to be met:
- AWS Account: You’ll need an active AWS account with the necessary permissions to create resources like EC2 instances, VPCs, and IAM roles. If you don’t have an AWS account yet, you can sign up for one at aws.amazon.com.
- Subnets: A Virtual Private Cloud (VPC) is required to host your EKS cluster. Within the VPC, you’ll need at least two subnets in different availability zones to ensure high availability and fault tolerance. These subnets will be used to distribute the EKS cluster resources across multiple data centers.
- IAM Roles: Terraform will create IAM roles and policies to grant necessary permissions for the EKS cluster and worker nodes. These roles will define the access permissions for interacting with various AWS services, such as EC2, S3, and CloudWatch. Make sure you have the necessary IAM permissions to create roles and policies in your AWS account.
- Security Groups: Security groups are essential for controlling inbound and outbound traffic to your EKS cluster and worker nodes. You’ll need to define appropriate security group rules to allow communication between the nodes, as well as any external services or resources that your applications may require.
- Amazon ECR Repository (Optional): Amazon Elastic Container Registry (ECR) is a fully managed container registry provided by AWS. It allows you to store, manage, and deploy container images. If you plan to use ECR to store and manage your container images, you’ll need to set up an ECR repository before deploying your EKS cluster.
Let’s get started with the practical guidance on bootstrapping an EKS cluster using Terraform now that we have a firm grasp on EKS, Terraform, and the prerequisites for installing an EKS cluster. Step-by-step instructions will be provided, along with code samples and explanations. You’ll have an EKS cluster functioning in your AWS account by the conclusion of this tutorial.
Let’s set up our cluster using Terraform
Step 1: Setting Up the AWS Provider
To start, you’ll need to configure the AWS provider in Terraform. The AWS provider is responsible for authenticating and interacting with the AWS API. Create a new Terraform configuration file, let’s call it main.tf, and add the following code:
In this example, we are specifying the AWS region as us-west-2. Replace it with the desired region code where you want to deploy your EKS cluster.
Step 2: Creating the VPC
Next, we need to create a Virtual Private Cloud (VPC) to host our EKS cluster. The VPC will provide the networking infrastructure for the cluster and define the IP address range, subnets, and route tables. Add the following code to your main.tf file:
In this example, we are creating a VPC with the CIDR block 10.0.0.0/16. Replace it with the desired CIDR block for your VPC.
Step 3: Creating Subnets
For high availability and fault tolerance, we need to create at least two subnets in different availability zones. These subnets will be used to distribute the EKS cluster resources across multiple data centers. Add the following code to your main.tf file:
In this example, we are creating two subnets, eks_subnet_a and eks_subnet_b, in availability zones us-west-2a and us-west-2b, respectively. Replace the CIDR blocks and availability zones with your desired values.
Step 4: Creating IAM Roles and Policies
Terraform will create IAM roles and policies to grant necessary permissions for the EKS cluster and worker nodes. Add the following code to your main.tf file:
In this example, we are creating an IAM role named eks-cluster-role and attaching the AmazonEKSClusterPolicy to it. This policy provides the necessary permissions for EKS cluster operations.
Step 5: Creating the EKS Cluster
Now we can create the EKS cluster itself. Add the following code to your main.tf file:
In this example, we are creating an EKS cluster named my-eks-cluster with the IAM role we created earlier. Make sure to specify the desired Kubernetes version and provide the subnet IDs of the subnets created in the previous steps.
Step 6: Configuring kubectl
To interact with the EKS cluster using the Kubernetes command-line tool (kubectl), we need to configure our local environment. Add the following code to your main.tf file:
In this example, we are using the aws eks CLI command to update our kubeconfig file with the necessary credentials to access the EKS cluster.
Conclusion
In this blog article, we looked at how to use Terraform to bootstrap an EKS cluster. We reviewed the fundamentals of EKS and Terraform, the prerequisites for setting up an EKS cluster on AWS, and a step-by-step tutorial with sample code for automating the provisioning of an EKS cluster. We can quickly build up and maintain EKS clusters by utilizing Terraform’s infrastructure as code approach, which frees us up to concentrate on delivering and growing our containerized apps.
References
- Amazon Elastic Kubernetes Service (EKS) Documentation: link
- Terraform Documentation: link
- Terraform AWS Provider Documentation: link
