
Why ETL Pipelines?
Serverless ETL pipelines are becoming increasingly popular because they offer a number of benefits over traditional ETL pipelines. Here are some reasons why and for which projects ETL serverless pipelines are created:
- Cost-effective: Serverless ETL pipelines are often more cost-effective than traditional ETL pipelines because they don’t require you to provision and maintain dedicated servers.
- Scalable: Serverless ETL pipelines are highly scalable because they can automatically scale up or down to handle large volumes of data.
- Flexible: Serverless ETL pipelines are flexible because of the integration with various data sources and tools.
- Fast: Serverless ETL pipelines are often faster than traditional ETL pipelines because they can take advantage of distributed computing resources.
- Easy to maintain: Serverless ETL pipelines are easy to maintain because you don’t need to worry about managing servers or infrastructure.
Use Cases
ETL serverless pipelines can be used for a wide range of projects, including:
- Data warehousing: Serverless ETL pipelines can be used to load data into a data warehouse for analysis.
- Data lake: Serverless ETL pipelines can be used to load data into a data lake for storage and processing.
- Real-time analytics: Serverless ETL pipelines can be used to process and analyze real-time data streams.
- IoT data processing: Serverless ETL pipelines can be used to process and analyze data from IoT devices.
Steps
Creating a Serverless ETL (Extract, Transform, Load) pipeline on AWS involves the following steps:
Define your requirements
First, you need to determine your data sources, where you will store your data, and what transformations are required to prepare the data for analysis.
Choose an AWS Service
You can use different AWS services for different parts of the ETL pipeline. AWS Glue is a popular choice for the ETL process. Let’s consider a real-world industry example of a retail company that wants to create a Serverless ETL pipeline on AWS to analyze customer behaviour and sales data. The company chooses AWS Glue for the ETL process, S3 for data storage, Athena for querying the data, and QuickSight for visualizations.
Set up an S3 bucket
You need to create an S3 bucket to store your raw data.
Here are the steps to set up an S3 bucket using the AWS console:
- Login to the AWS console.
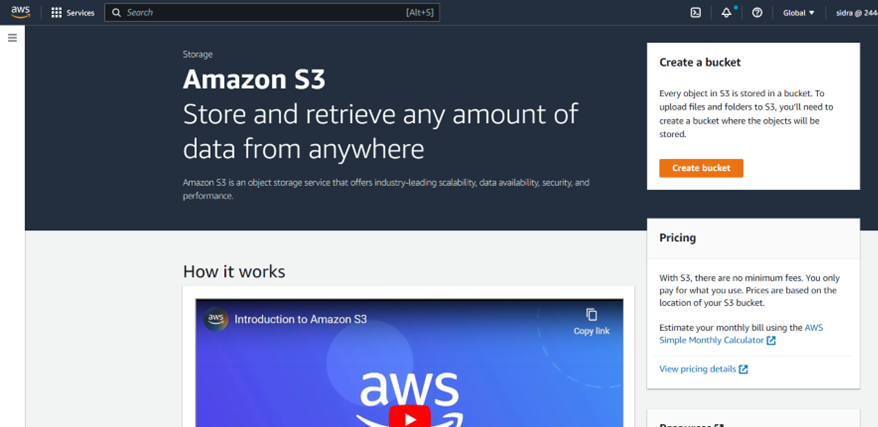
- Go to the S3 service by clicking on the “Services” menu and searching for “S3” in the search bar or by selecting “S3” under the “Storage” category.
- Click on the “Create bucket” button to create a new bucket.
- Enter a name for the bucket. Make sure the name is unique across all AWS accounts and regions.
- Select the region where you want the bucket to be located. Choose a region that is closest to your customers or where your data is generated.

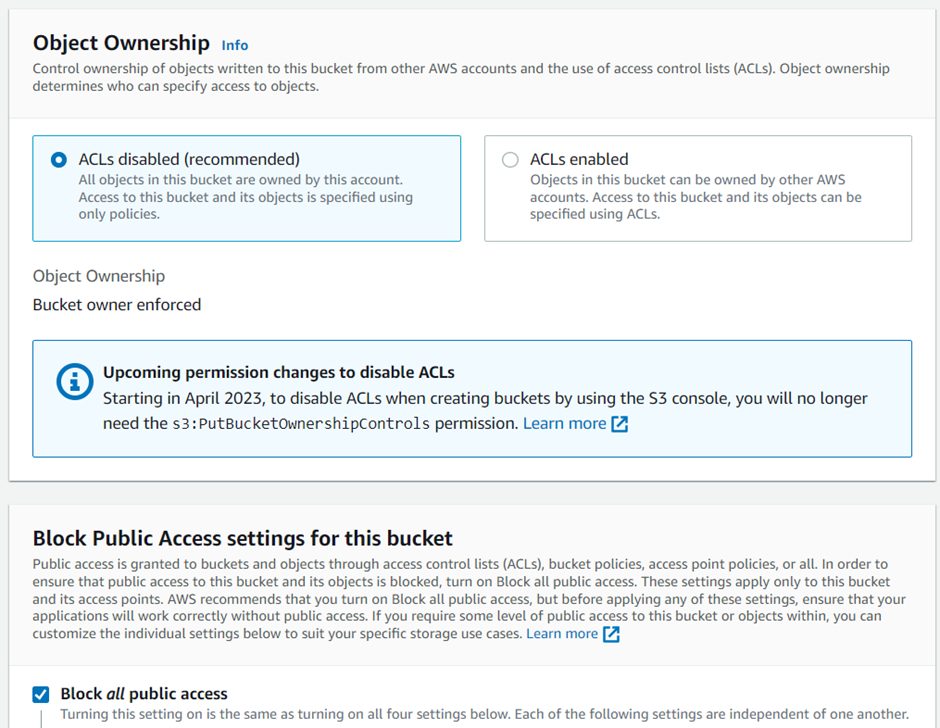
- By default, the object owner is the AWS account that uploaded the object to the bucket. You can change the object ownership using the AWS console or programmatically using an SDK.
- You can control public access to your S3 bucket by setting access policies for the bucket.
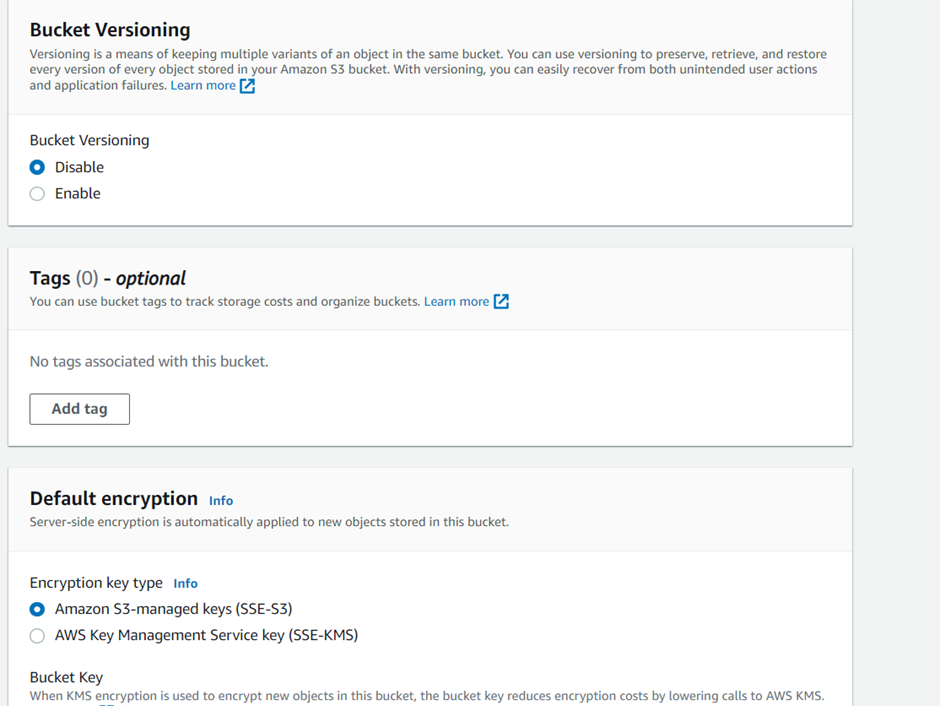
- You can enable versioning for your S3 bucket to keep track of all versions of objects stored in the bucket.
- You can also add tags to your S3 bucket to help you organize and manage your buckets and objects.
- Choose a default encryption setting for the bucket. You can choose to encrypt all objects uploaded to the bucket or only those uploaded using HTTPS.
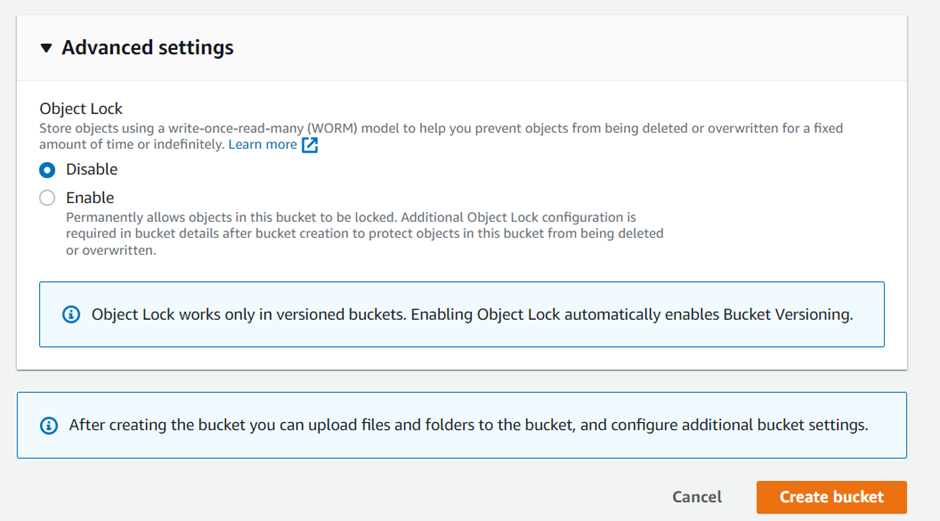
Click on the “Create” button to create the bucket. Your S3 Bucket is ready !!
Define your Data Schema
Before you can start transforming your data, you need to define the schema of your data. This schema will help AWS Glue understand how to transform your data. This retail company then defines the schema for the customer and sales data, which will be used by AWS Glue to transform the data.
Create an AWS Glue crawler
A crawler is a tool that scans your data source and creates a metadata catalog that AWS Glue can use.
Using AWS Management Console
To create and run a Glue crawler using the AWS Management Console, follow these steps:
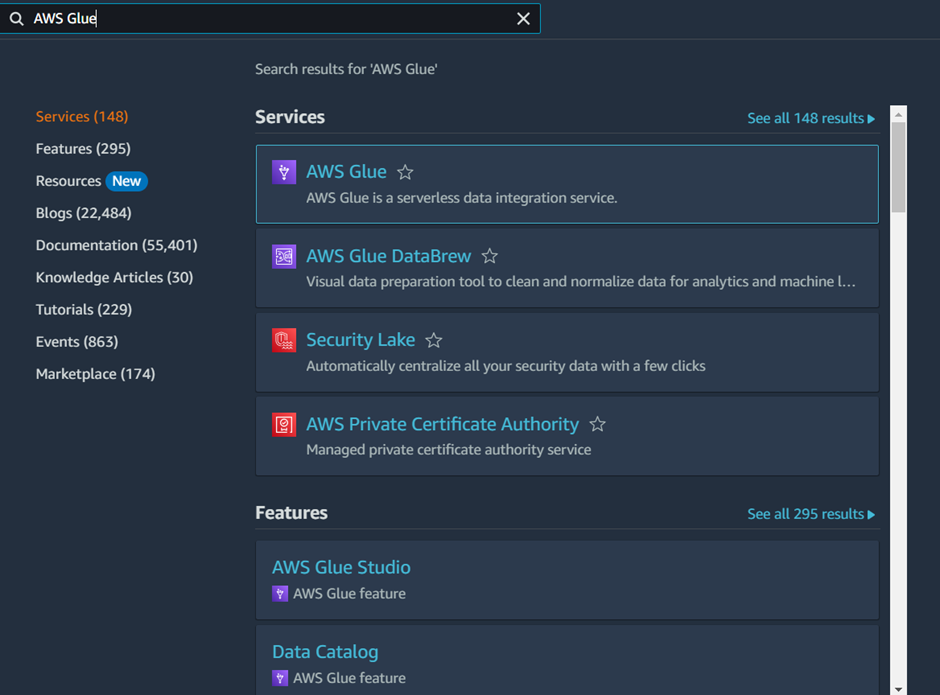
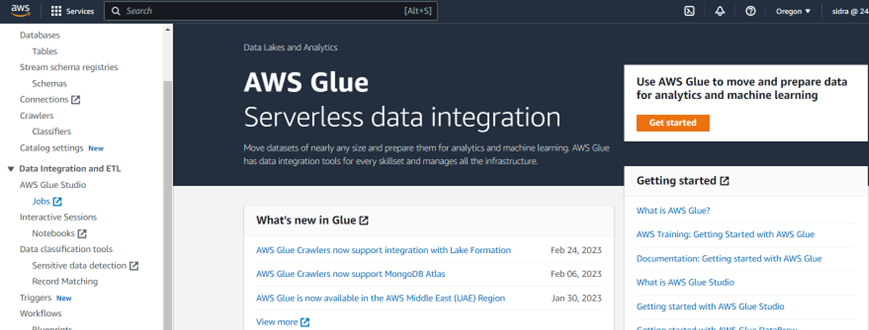
- Open the AWS Management Console and navigate to the Glue service.
- Click on the “Crawlers” link below in the navigation pane.

Note : You will be getting the interface like this but you can switch to the new interface by clicking the “Switch to new console “ link
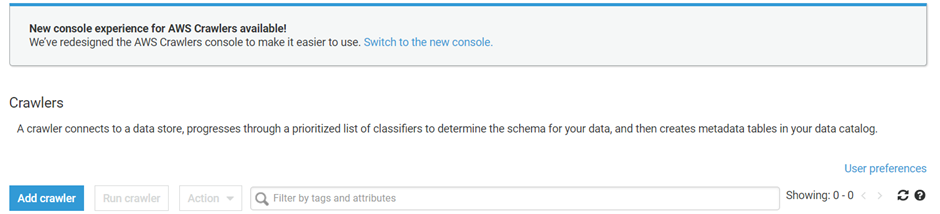
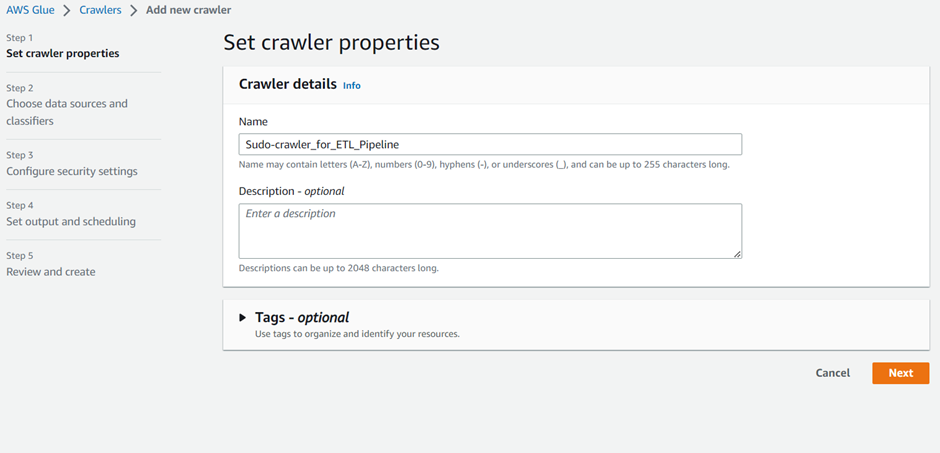
- Click on the “Create crawler” button.

- In the “Crawler name” field, enter a unique name for your crawler. Tags are optional though.
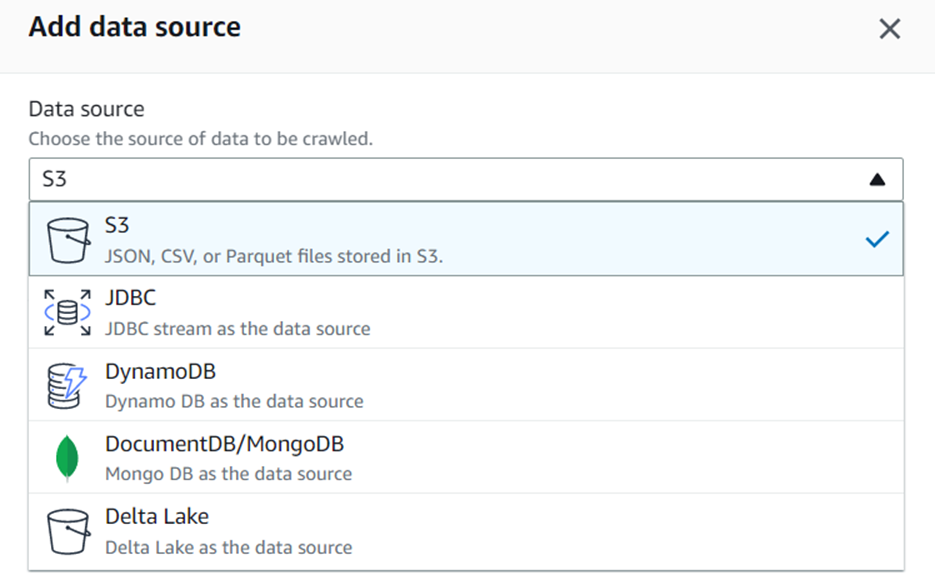
- Under Crawler source type, select Data stores.
- Choose the data store that you want to crawl.
- Select the data store’s location.
- Under Include path, select the path that you want to crawl. By default, all paths are selected. Now as our S3 Bucket name was Sudo-ETL-Pipeline , so accordingly our path will be s3://Sudo-ETL-Pipeline/SubfolderNames
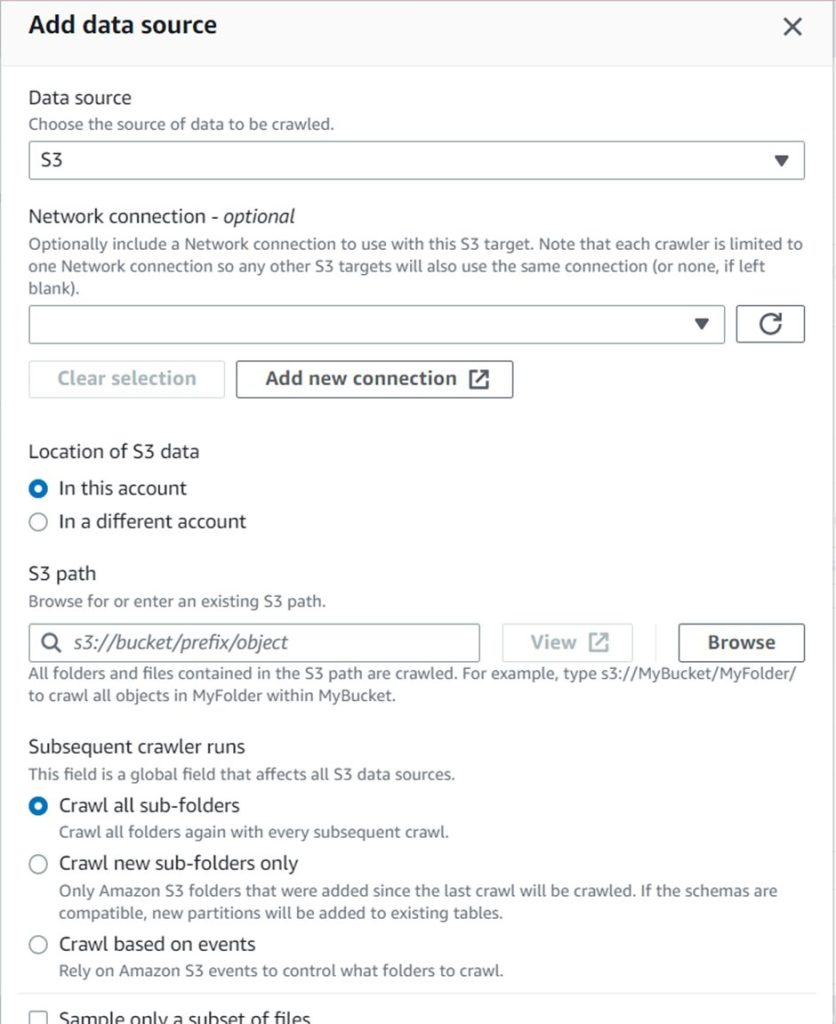
- Under Exclude path, select the path that you don’t want to crawl.
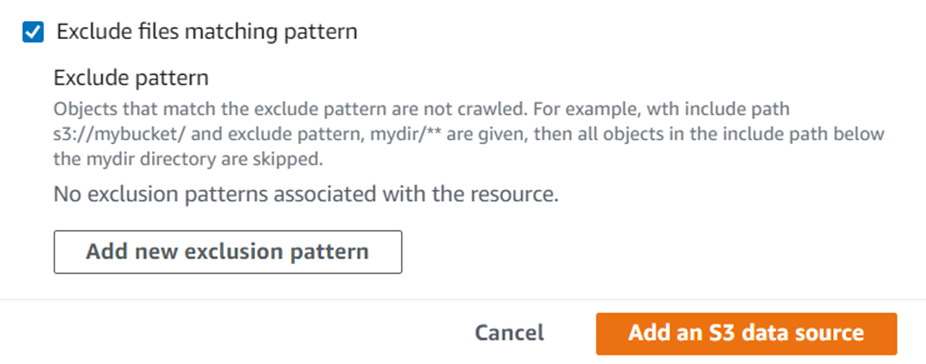
- Choose Next.
- Under Choose an IAM role, select an IAM role that has permission to access your data store.
- If you don’t have an IAM role, choose to Create an IAM role.
- Choose Next.
- Under Configure the crawler’s output, choose an S3 bucket and path where the metadata should be stored.
- Under Frequency, select how often you want the crawler to run.
- Choose Next.
- Review the settings for the crawler.
- Choose Finish to create the crawler.
Using AWS CLI
To create an AWS Glue crawler using the AWS CLI, you can use the create-crawler command. Here is an example command:
aws glue create-crawler --name my-crawler --role my-role-arn --database-name my-database --targets '{"S3Targets":[{"Path":" s3//Sudo-ETL-Pipeline/SubfolderNames /"}]}'
This command creates a crawler named my-crawler, with a role named my-role-arn, that crawls the S3 path s3://my-bucket/path/ and adds the metadata to the my-database Glue database.
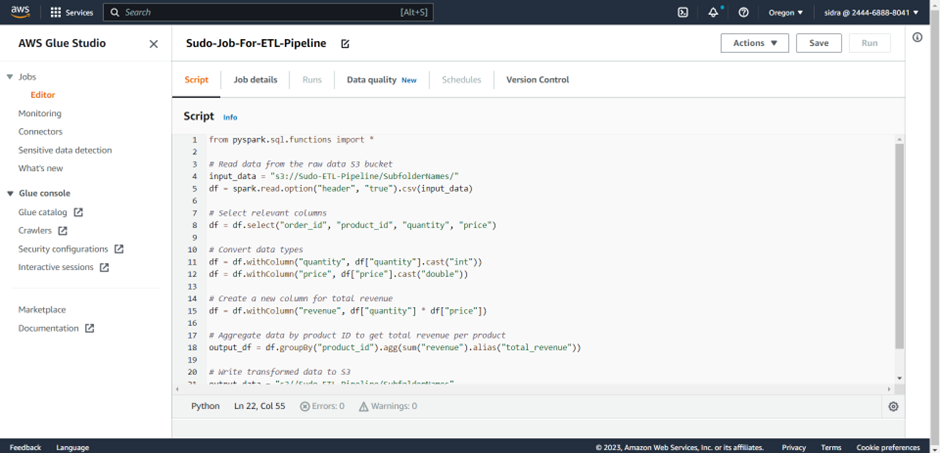
Create an AWS Glue job
AWS Glue jobs can be used to transform your data and load it to your destination. Here is a step-by-step guide to creating an AWS Glue job using the AWS Management Console and the AWS CLI :
- Go to the AWS Management Console and select AWS Glue.
- In the left navigation pane, select Jobs.
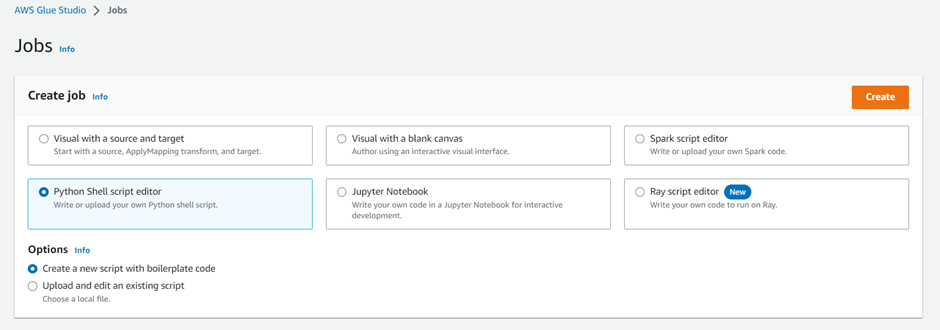
- Here you have to add your transformation script in the script editor. You can use PySpark or Scala to write your script. You can also upload an existing script.
- Choose Save.
- Under Security configuration, select an IAM role that has permission to access your data sources and destinations.
- Under Advanced properties, you can configure additional settings such as job parameters and connections.
- Review the settings for the job.
- Choose Finish to create the job.
Using AWS CLI
Following are the steps for Creating an AWS Glue job using the AWS CLI
- Enter the following command to create a new job :
aws glue create-job --name my-job --role my-role-arn --command '{"Name":"glueetl","ScriptLocation":"s3://Sudo-ETL-Pipeline/my-script.py","PythonVersion":"3"}' --default-arguments '{"--job-language":"python","--job-bookmark-option":"job-bookmark-enable","--s3-bucket":" Sudo-ETL-Pipeline ","--s3-key-prefix":"output/"}'
This command creates a new job named my-job, with a role named my-role-arn, and a transformation script located in your s3 Bucket. You can change the name of the s3 Bucket in the command according to your own s3 bucket, you want to use.
- Enter the following command to set up your data source and destination:
aws glue update-job --job-name my-job --connections '{"Connections":["my-connection"]}' --default-arguments '{"--TempDir":"s3://Sudo-ETL-Pipeline /temp/","--source-table":"my-source-table","--destination-table":"my-destination-table"}'
This command sets the connection to my-connection and the source and destination tables to my-source-table and my-destination-table, respectively.
- Edit the transformation script located in s3:// Sudo-ETL-Pipeline /my-script.py
- Enter the following command to configure job properties:
aws glue update-job --job-name Sudo-Job-For-ETL-Pipeline --default-arguments '{"--enable-continuous-cloudwatch-log":"true","--enable-continuous-log-filter":"true","--enable-continuous-log-union":"true","--enable-spark-ui":"true","--enable-metrics":"true"}'
This command enables logging, metrics, and Spark UI.
- Review the settings for the job.
- Enter the following command to run the job:
aws glue start-job-run –job-name Sudo-Job-For-ETL-Pipeline
This command starts the job.
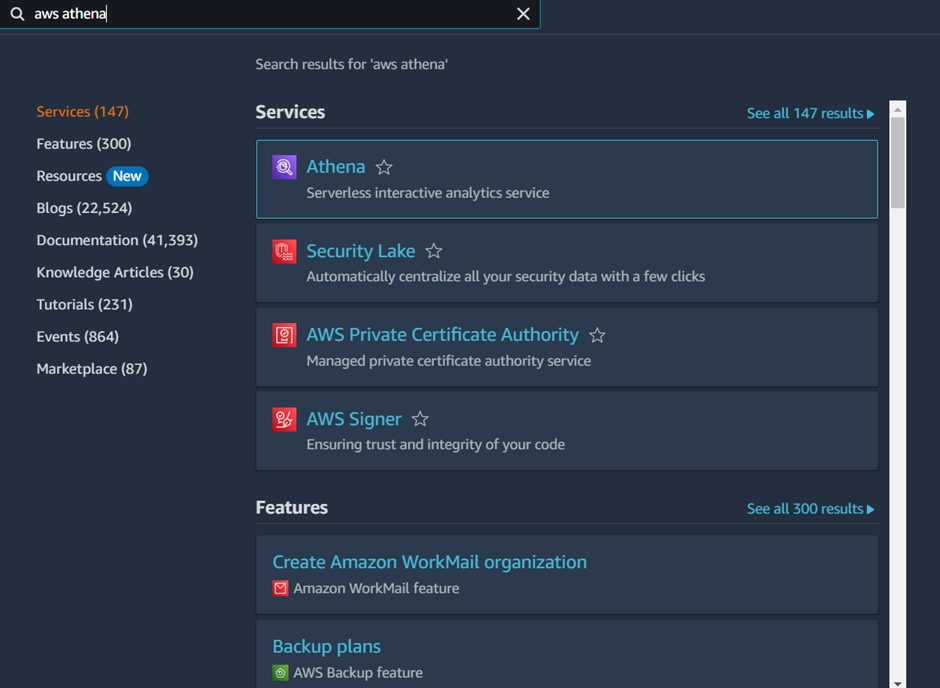
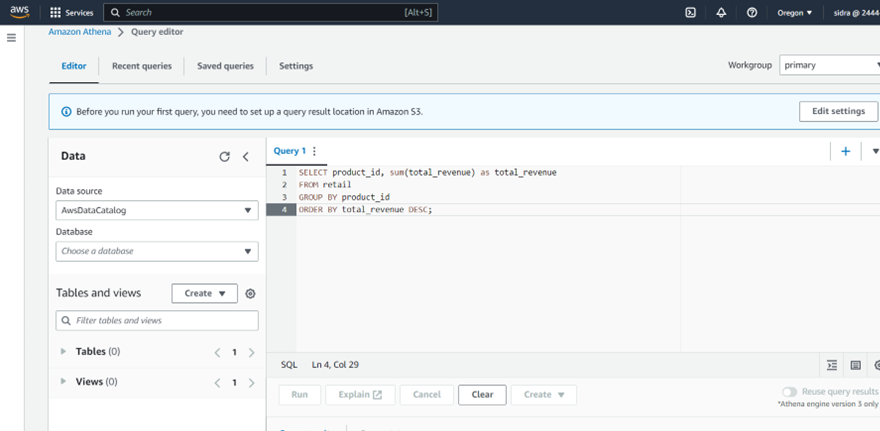
Set up an Amazon Athena database
Athena is a serverless interactive query service that can be used to query your transformed data.
Here’s a step-by-step guide to set up an Amazon Athena database for the scenario we discussed
- Open the Amazon Athena console Open the Amazon Athena console by navigating to the Athena service in the AWS Management Console.
- Choose an S3 bucket where you want to store your query results.

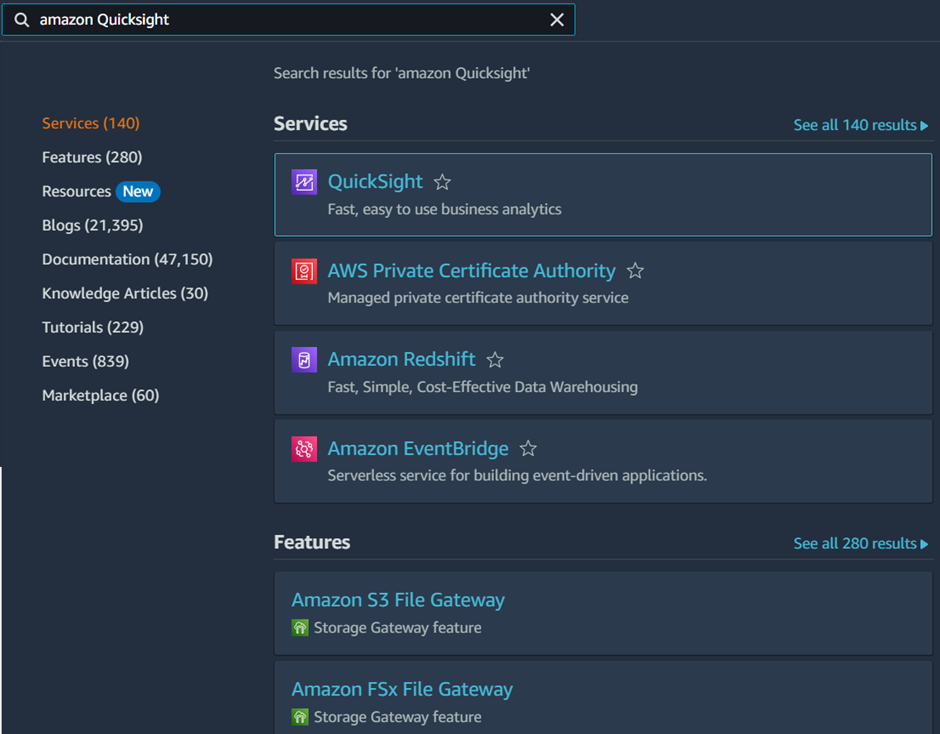
Set up an Amazon QuickSight Dashboard
Amazon QuickSight is a business intelligence service that can be used to create visualizations and dashboards.
Here are the steps to set up an Amazon QuickSight dashboard:
- Navigate to the Amazon QuickSight console and login using your AWS credentials.
- Select “Manage QuickSight” from the navigation pane on the left-hand side of the screen.
- Click on “Create analysis” to create a new analysis. An analysis is a collection of visualizations that you can use to build a dashboard.
- Choose a data source for your analysis. In this case, you would choose the Amazon S3 bucket that contains the transformed data from your ETL pipeline.
- Build your analysis by dragging and dropping fields from your data source onto the visualization canvas. You can use a variety of visualization types, including bar charts, line charts, scatter plots, and more.
- Save your analysis when you are finished building it.
- Create a new dashboard by clicking on “Create dashboard” from the main QuickSight console.
- Choose the analysis that you just created as the data source for your dashboard.
- Add visualizations from your analysis to the dashboard by dragging them onto the dashboard canvas. You can also add text boxes and images to provide context for your visualizations.
- Customize the appearance of your dashboard using the tools in the QuickSight interface. You can change the colours, fonts, and sizes of the various elements on your dashboard.
- Publish your dashboard by clicking on the “Publish” button in the top right-hand corner of the QuickSight console. You can choose to share your dashboard with fspecific users or groups, or you can make it available to everyone in your organization.
Schedule the ETL job
Finally, you can schedule the AWS Glue job to run on a regular schedule.
A Software Engineer by profession and a Writer by passion